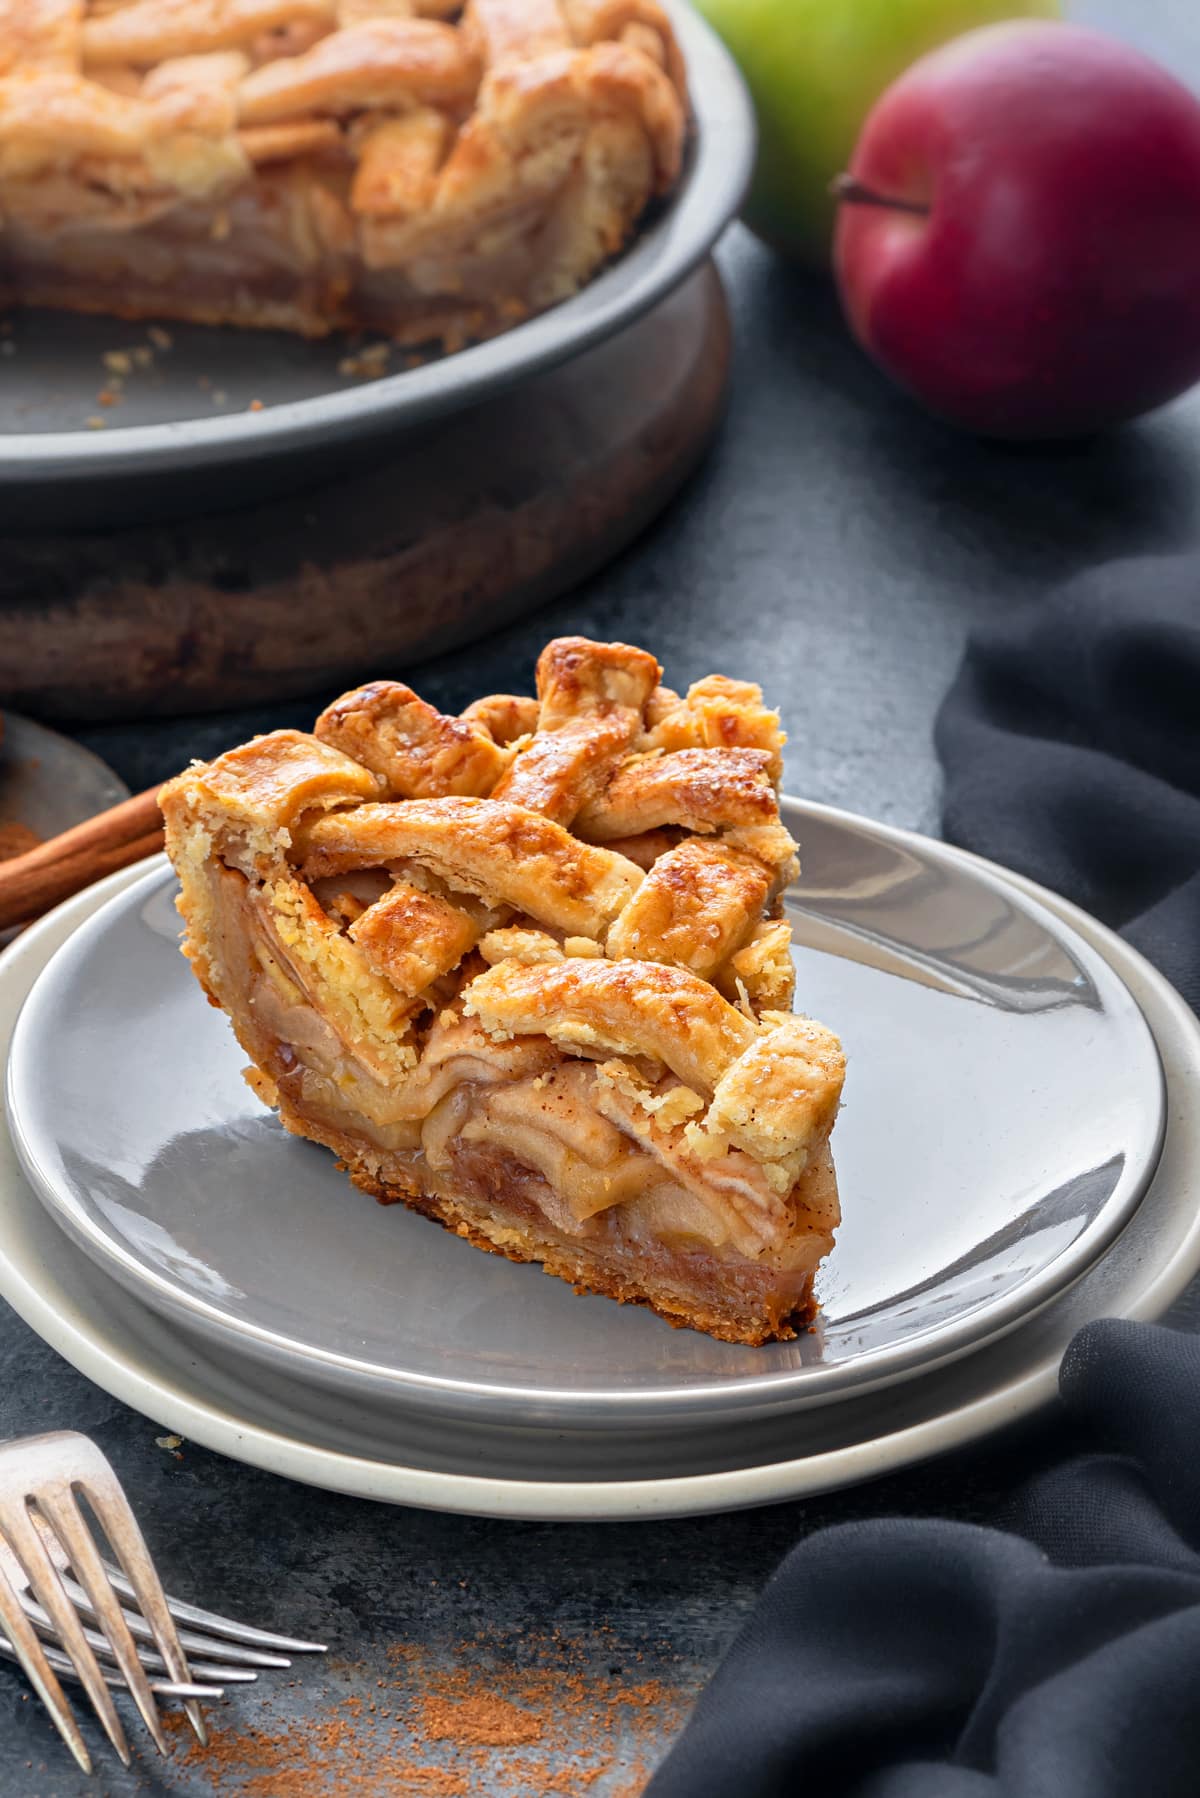
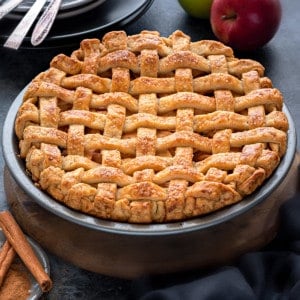
Why you will love this pie?
A good Homemade Apple Pie has been a comfort food for millions all over the world. In the early 1900s, apples became more easily available across North America and this perfectly buttery dessert became a star.
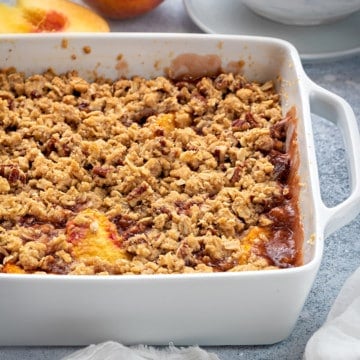
Whether you’re baking it for a Thanksgiving table (which should definitely feature these - apple oats crumble, peach cobbler, roasted sweet potatoes in the menu), or prepping for a Fourth of July picnic, this pie is the perfect end to a meal. Rather than having an overly-sweet apple pie, this recipe calls to combine a few varieties to give the pie a perfect balance of tart and sweet. Any baker loves to see a beautifully baked golden crust, a bubbly sweet filling, and the smell of apples and spices that can feel like home! I love this crust recipe and find that it gives me the perfect flaky layers and light crunch I want in my pies. Any and all local apples are easy to swap in, leaving you with an incredibly fresh pie whether in the summer or winter!
*Some more delicious recipes for you to try for your holiday table:
Nutella Chocolate CakeOatmeal Chocolate Chip CookiesSweet Potato CasseroleHomemade Apple Cider
Ingredients notes
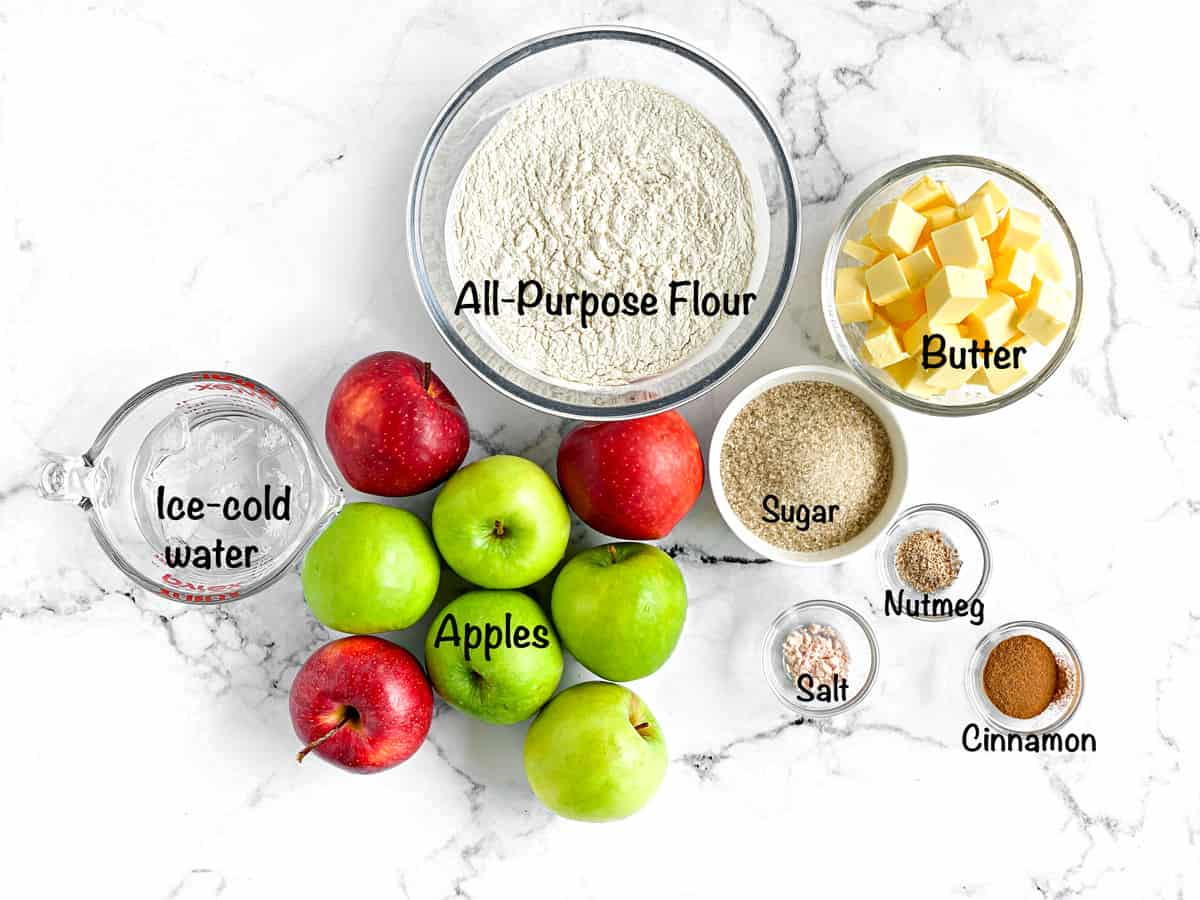
Some pie recipes can feel intimidating for a novice baker. What I love here are the simple ingredients. This pie does not require any specialty grocery store trips (yay!). Whether you have a stocked kitchen or a small kitchen with some basics - this homemade apple pie recipe will come out perfectly! As I mentioned, the apples here should be a balance of both sweet and tart. Granny Smith is a classic apple for pie - and they’re ready for picking in November, making them perfect for a Thanksgiving dinner. Their sour notes pair perfectly with a sweeter apple like a gala, which are readily available almost year round. Of course, if you have local apples that are in season - use those! Finding new flavor and texture combinations is one of the best part of fruit pies.
How to make the perfect homemade apple pie?
Step One - Making the best homemade pie dough
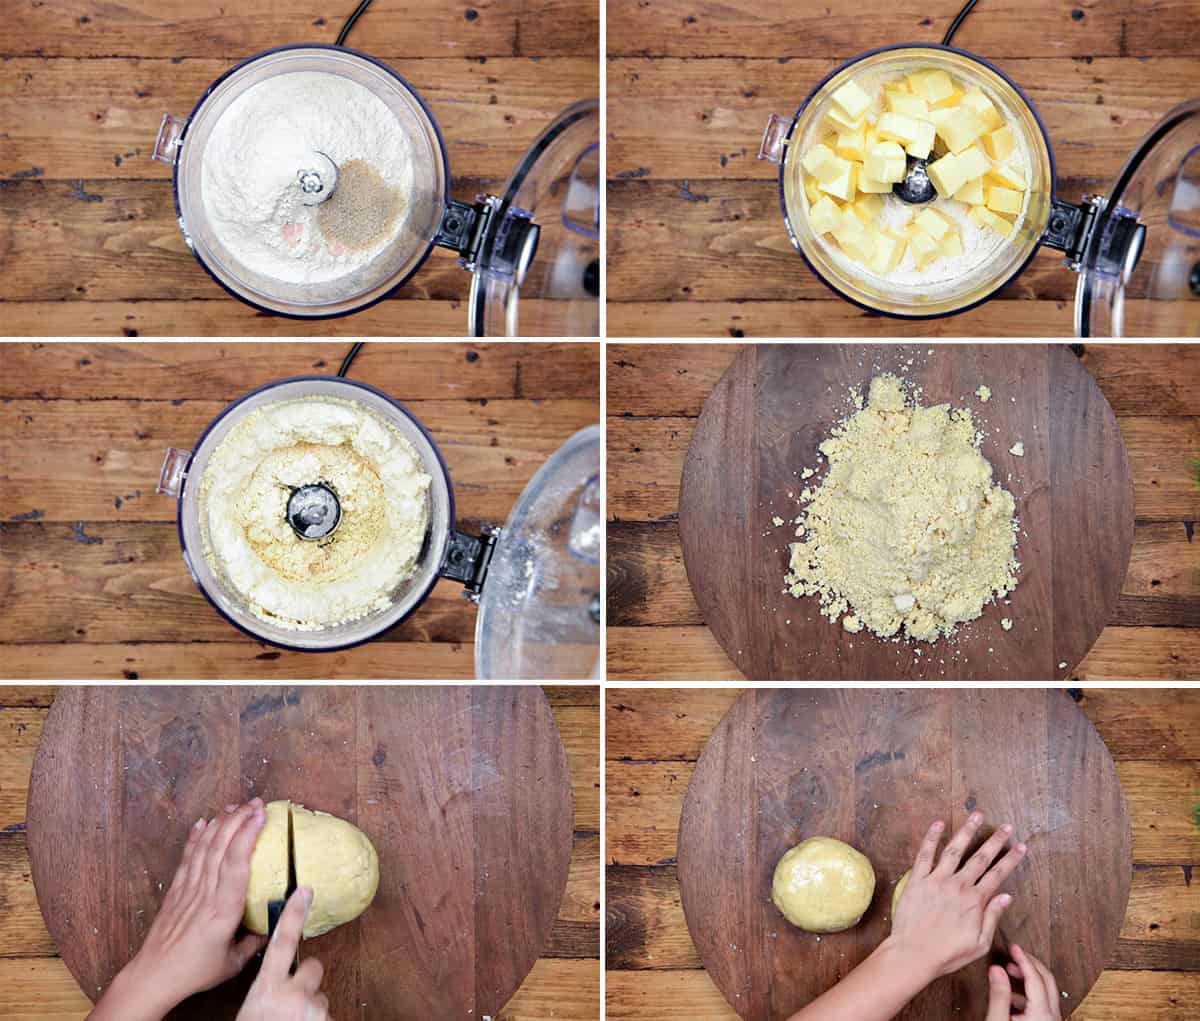
Add flour, salt, and sugar to a food processor. Pulse two to three times. Add your chilled, and cubed, butter. Pulse until the mixture is crumbly. Pour in 10-12 tablespoons of ice cold water. Start with 10 tablespoons and pulse until the mixture is evenly moist but still crumbly. Add up to two more tablespoons until you get that texture. Pour crumbled flour onto a flat surface and begin rolling to create dough. Note: You don’t need it perfectly smooth. We don’t want overworked dough, so stop once you have rolled into a ball.Cut dough in half. Roll each half into a thick, round disc. Wrap each half in plastic wrap. Refrigerate for at least 45 minutes.
Two: Making your apple pie filling
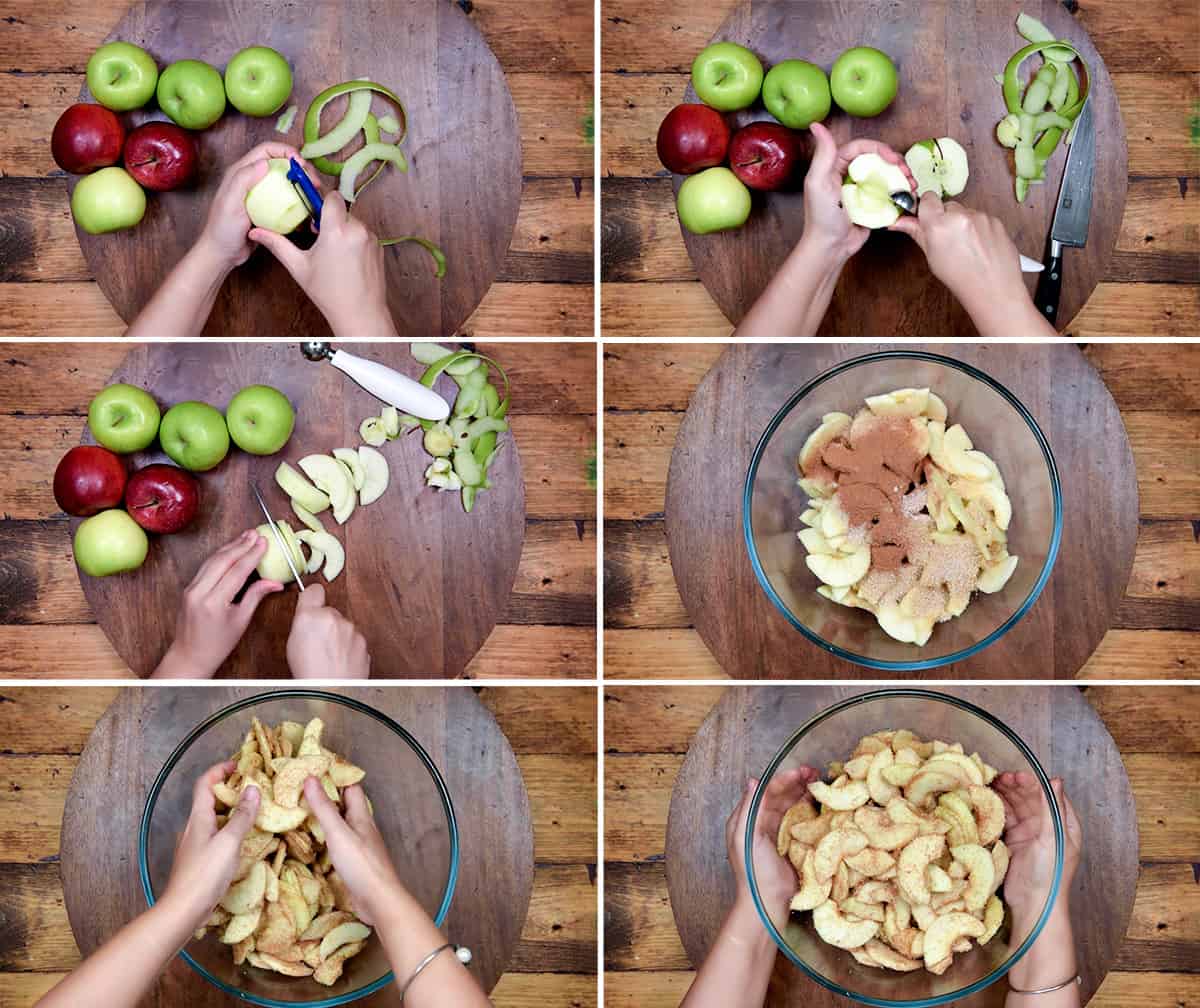
Peel and cut six large (or eight medium) apples, and put them into a large bowl. Add sugar, cinnamon and nutmeg to the bowl. Gently toss apples in the spices to avoid bruising (using your hands is the best method for this, though wooden spoons work as well). Cover the bowl with plastic wrap and set aside for 45 minutes. During this phase, the juice from the apples blends with spices to make that signature pie filling!
Three: To prepare crust
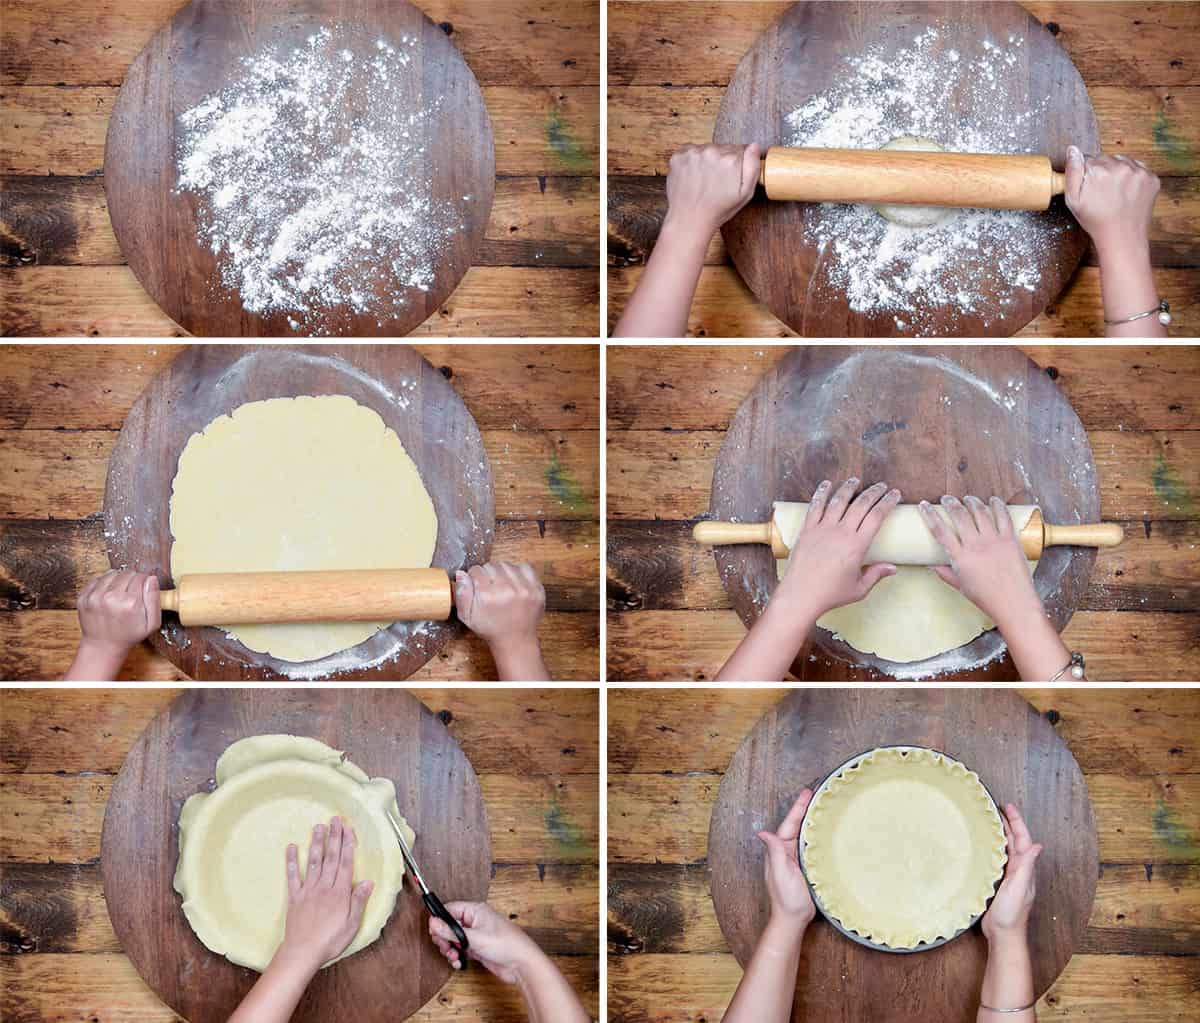
Unwrap one chilled half of the pie dough, and place it onto a lightly floured surface. With a rolling pin, begin smoothing the dough from the center. You want to be sure you are working outward. After each roll, you will lift and rotate the dough. This helps keep an even surface and ensure there aren’t any weak spots in your crust! Roll until the dough is about 11 inches in diameter. Lay it into your 9-inch pie pan. Avoid stretching the dough. Trim the extra dough that is hanging out of the pie dish.Refrigerate until you are ready to fill it (at least ten minutes to get it chilled after you’ve been handliing it). This is a great time to pre-heat your oven to 400 degrees F!
Four: Assembling your pie
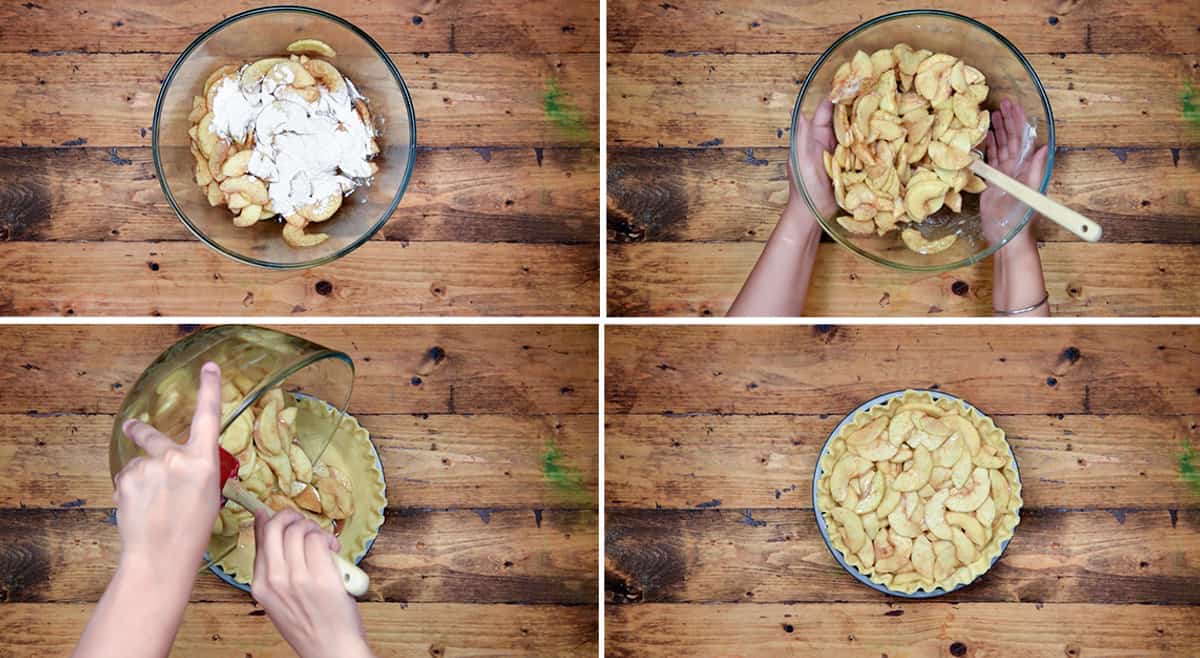
Add a flour, and lightly toss the apples until they are coated.Pull out the chilled pie crust and pour in your apple mixture. Move the apples around until they sit as an even layer. (This is why coating them in flour is so helpful.) Pour in any extra juices from the bowl. I have not added though, you can add a few small cubes of butter and add the pan back into the fridge. Now, we prepare the lattice top!
Five: Making your lattice pie top
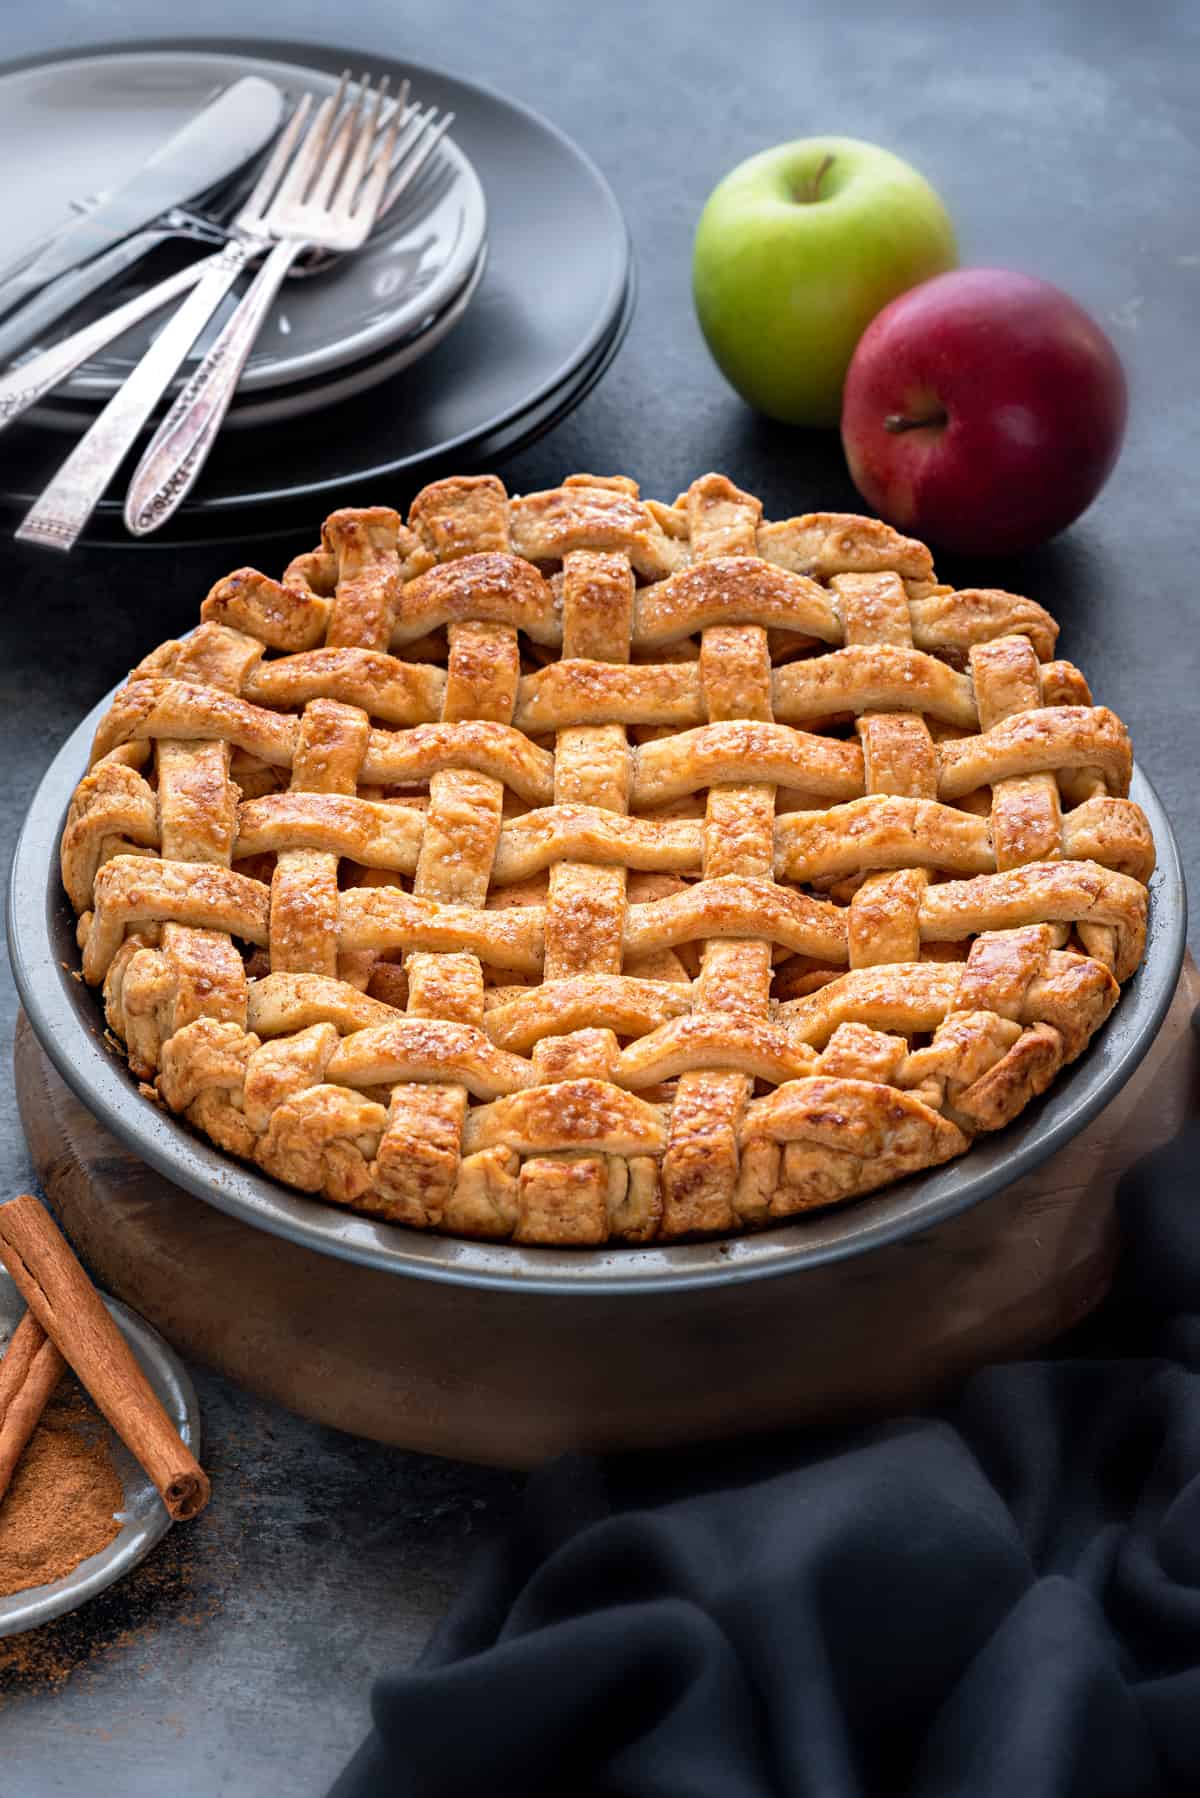
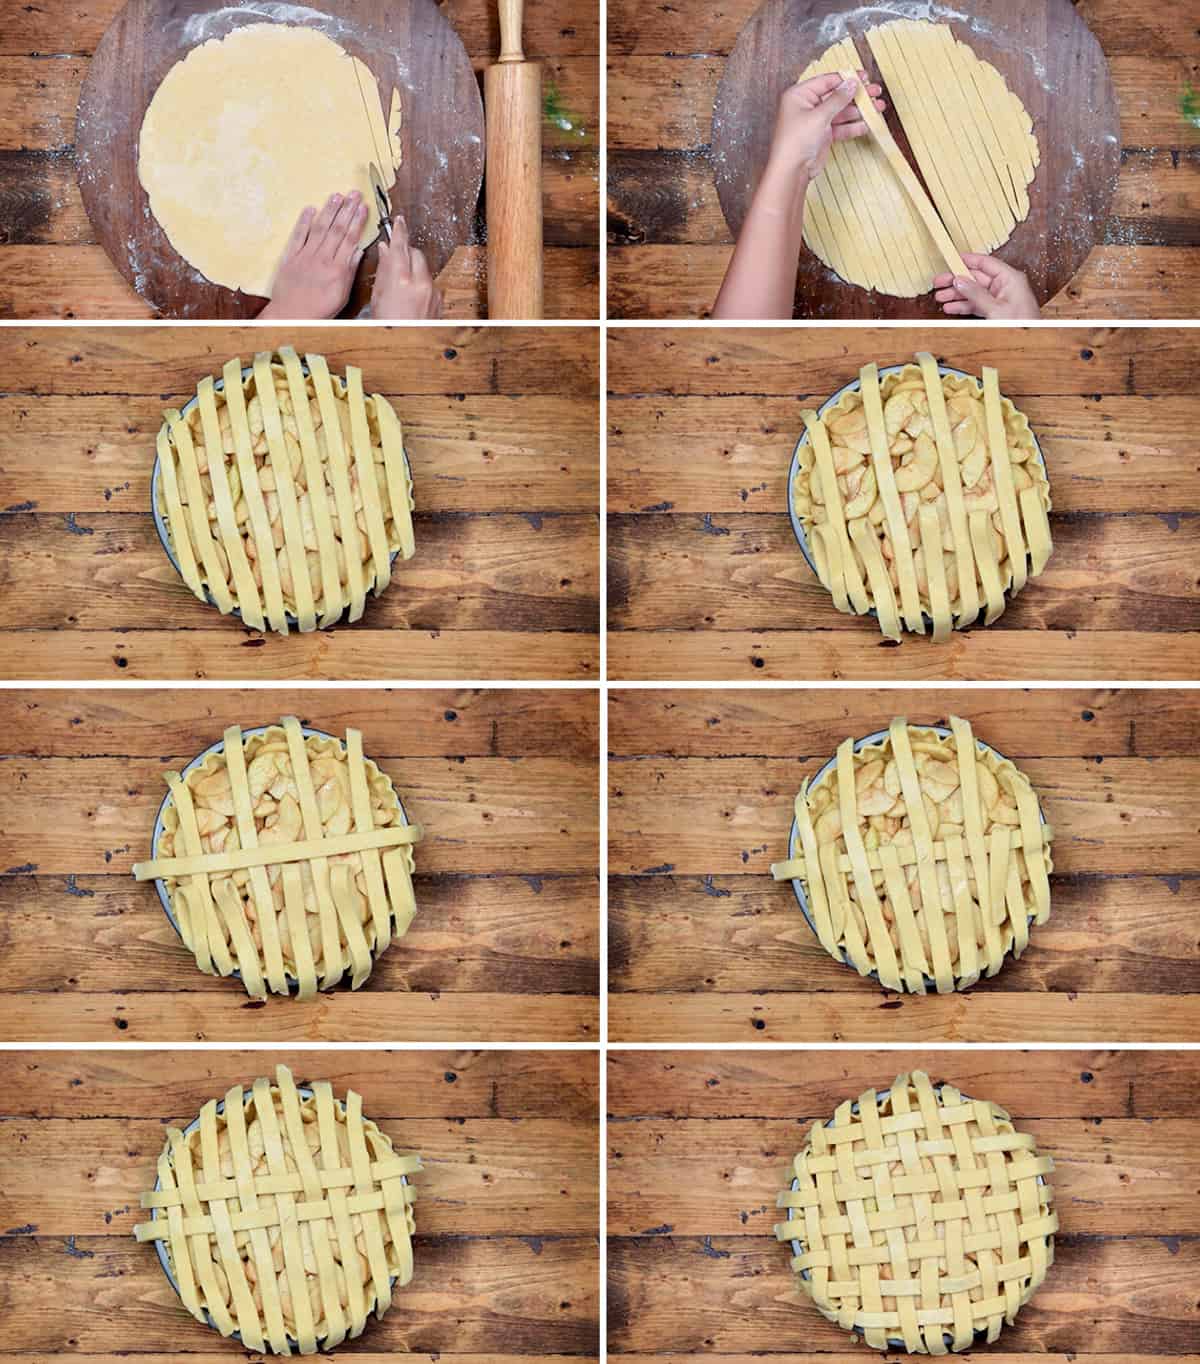
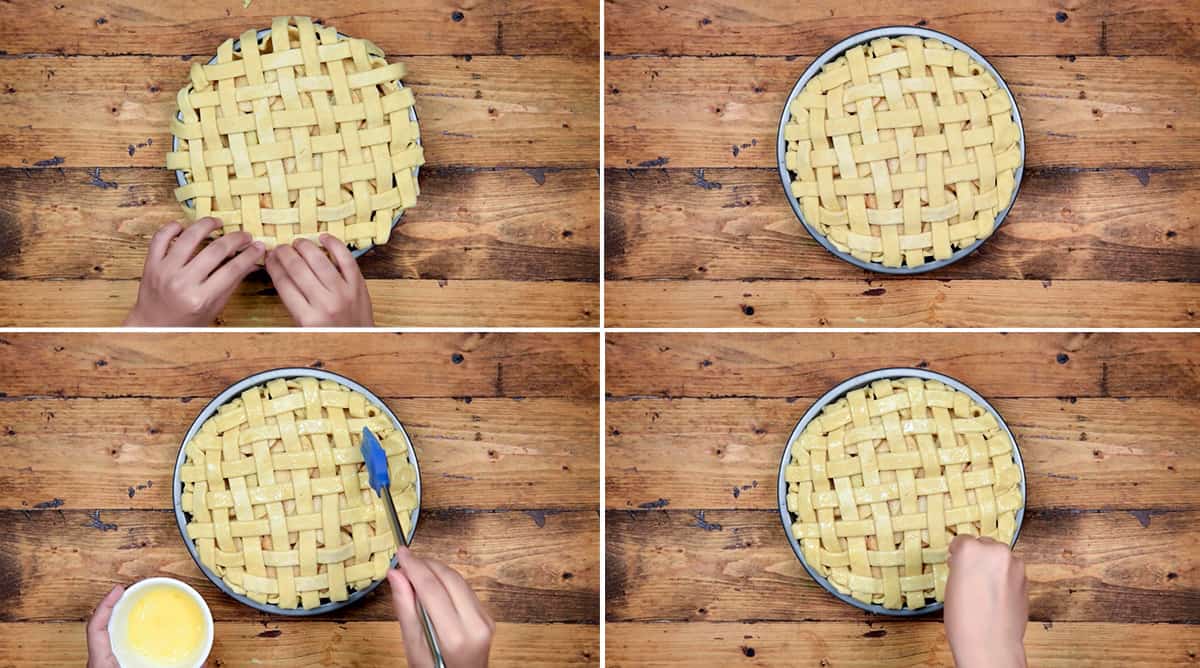
Take your other half of dough out from the refrigerator. Unwrap and place it onto a lightly floured surface. Roll this dough out to a thick 11-inch disc as well. With a dough (or pizza) cutter, cut one-inch strips of dough, lengthwise. When you are done, these should be to be thick enough to lay down without breaking. Remove the pie from the fridge, and lay the strips of dough into a lattice pattern. Of course, you can use a traditional quilted style here. With some leftover dough, you can also create small shapes like stars, leaves, or turkeys. These make a really fun surprise on holiday! Create a quick egg wash. One egg and a bit of water will do the trick! Whisk them just a bit. Though pastry brushes are perfect for this, you can use a spoon, or even your fingers, to be sure you have a nice wash on the crust. This will help your pie come out perfectly golden!
Six: Baking your pie
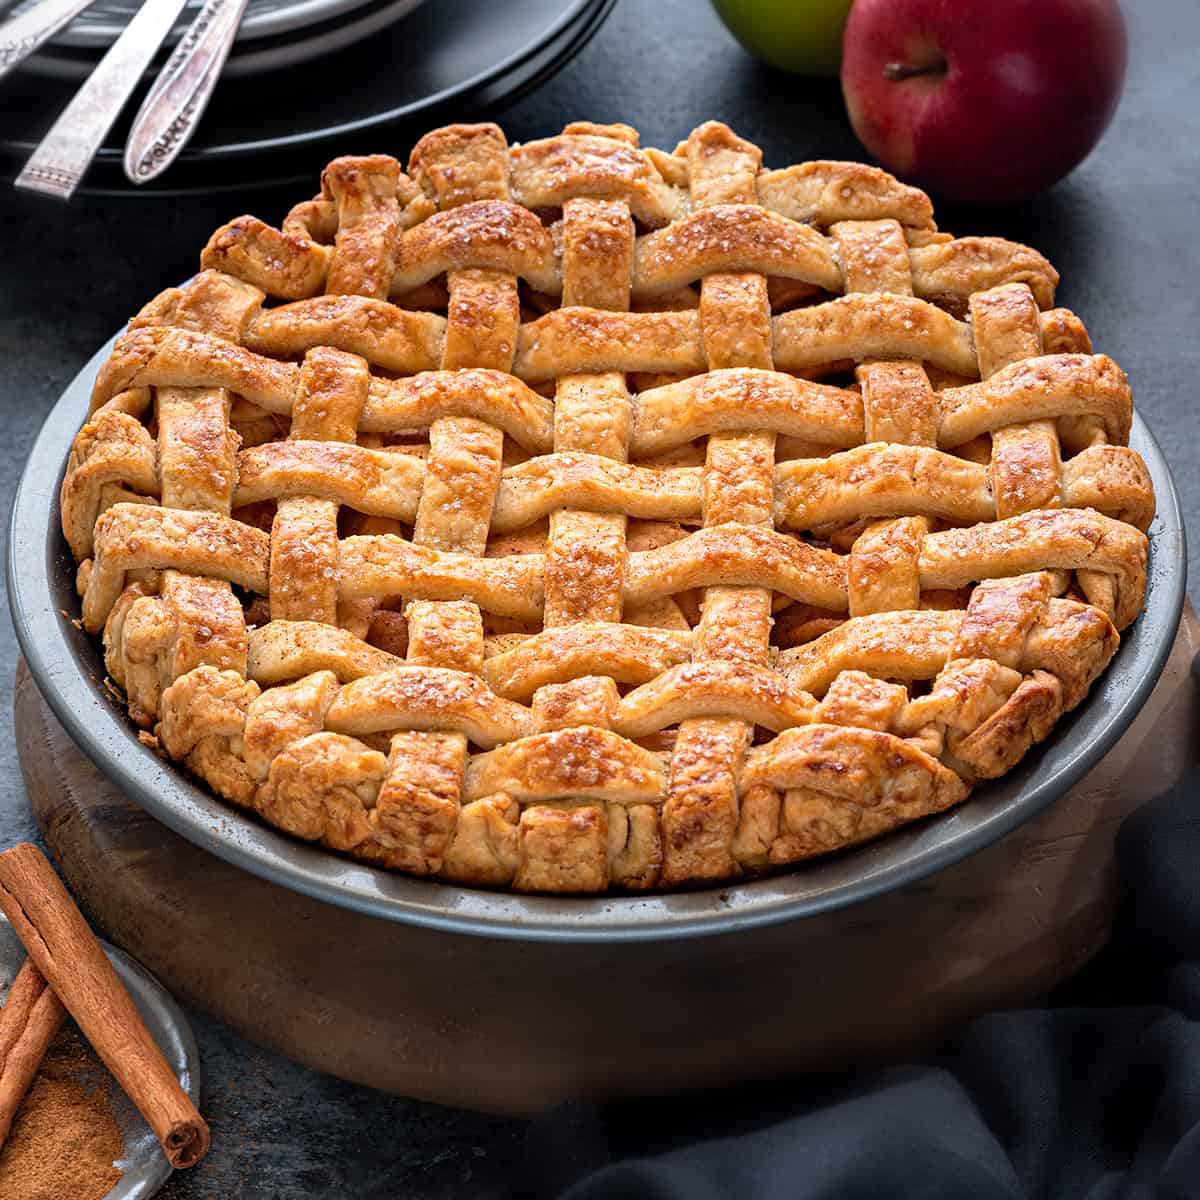
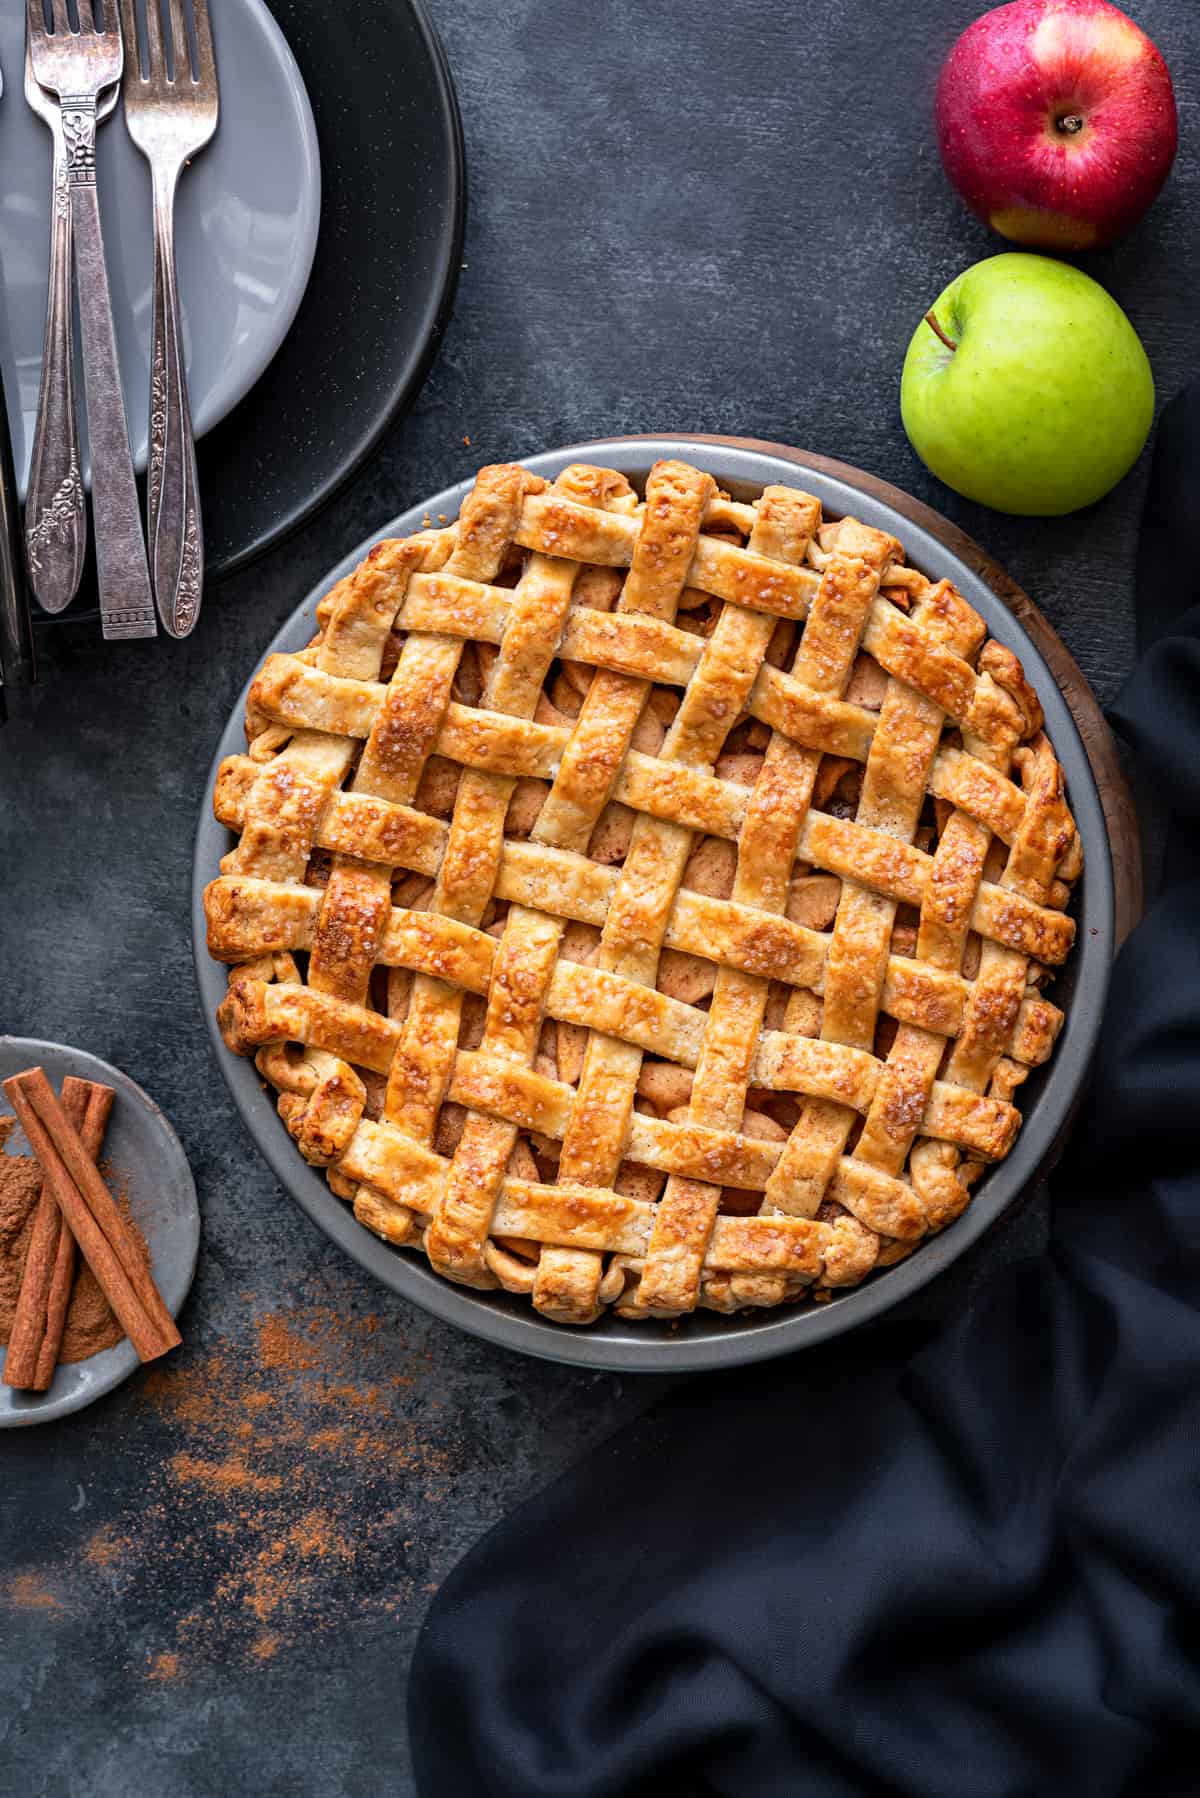
After the egg wash, and once your oven is preheated, put your pie in the oven! Bake it for 20 minutes. At the 20 minutes mark, reduce the oven temperature to 350 degrees F. You will want to bake it for at least 40 minutes. Once you see a golden, crisp top, and a bubbling filling, it is ready to come out of the oven! Make sure you cool the pie for at least an hour. I know it’s hard to do - but this helps the flavors set up and I promise it’s worth it!
Expert Tips
Pie Crust: The key to a fabulous pie crust is cold ingredients! That’s right- just the temperature of your water or your butter makes a world of difference. The colder the butter - the flakier your layers! Pie Filling: Avoid over-mixing your apples and spices, so that the apples keep their texture. This helps keep the filling from becoming too liquidy. It is also crucial to cut the apples evenly, so that they cook at the same time. About a quarter inch thick is perfect for this recipe. Avoiding apple browning: If apple slices get browned or bruised - your pie filling is destined to be soggy! If you are cutting them in advance, or maybe got some pre-cut, you can save them with a salt brine. It sounds wild, but it works! Mix a half teaspoon of salt (kosher preffered) into 1 cup chilled water until dissolved. Add your sliced apples and soak for about 10 minutes. Drain the apples and store in an airtight container for up to a week. Note : You can also use ½ teaspoon lemon juice instead of salt.
Mix-ins for your pie
There are so many apple pie recipes out in the world, it can be hard to pick one! Having a go-to recipe like this is great, because they are so easily switched up with some new flavors! Here are a few of my favorites!
If you don’t like cinnamon, cardamom and apple pie spice can be swaped. Without much work, these changes give your family a totally new flavor profile!A half cup of toasted nuts works beautifully mixed into the fiilling. One of these caramelized and candied nuts would be incredible in this pie.One cup of cranberries is a great tart alternative. Once washed, add them (along with an additional quarter cup of sugar) into the filling.Dried fruits like dates and currants can be added (about ½ cup works with these measurementts). When adding dried fruit, you may want to use more tarte apples than sweet. That change will keep the pie from being too sugary once baked.Just one tablespoon of fresh ginger or lemon zest added to this filling is a game-changer. In fact, it almost tastes like a new dessert!
Best toppings for your apple pie
There is much debate about the best way to top your apple pie. Some say it’s best totally on its own - but I love trying out new combinations!
Ice cream is the accompaniment of choice for many U.S. bakers and eaters alike! Vanilla is the most traditional choice, but something like salted caramel, or brown sugar, would be incredible alternatives.Speaking of which, salted caramel is a fantastic addition. There are plenty of recipes, as well as store-bought versions that don’t break the bank!Whipped cream is a regular choice for this pie. But have you ever spiced it up? Cinnamon, apple pie spice, or ginger, can be folded into fresh whipped cream for a special something.Just a drizzle of honey also makes a lovely addition to this pie. In fact, during the summer months, this is a great way to eat chilled or room temperature pie!
Storing, freezing and reheating
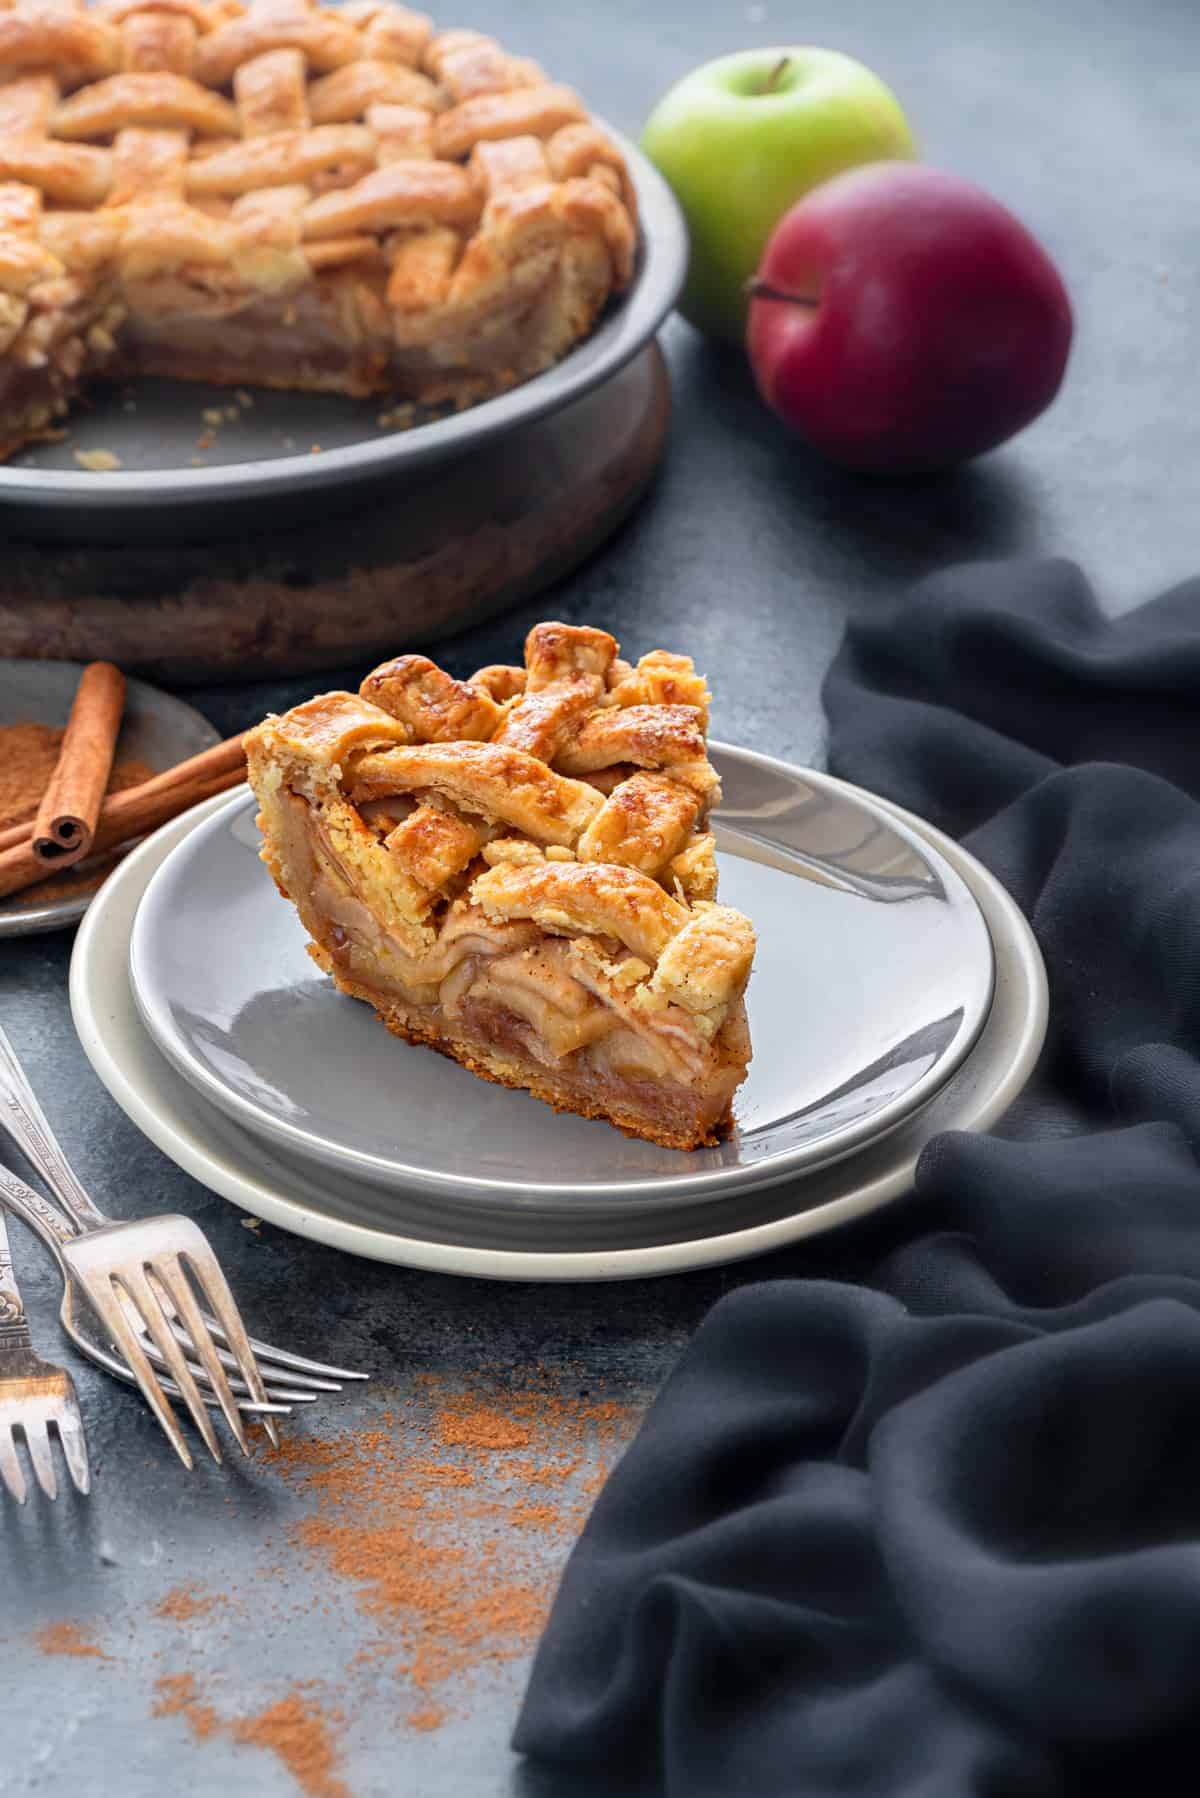
Saving leftovers: Apple pie saves well, and when wrapped tightly with plastic wrap it can stay in the refrigerator for about four days. Though some pre-made pies can sit on the counter due to preservatives, any home made pies should be refrigerated. Freezing an unbaked pie: To get the best in two parts! First, you will cook the pie filling down with butter for about 8-10 minutes. Once cooked and cooled, seal the filling in an air-tight container. It will be alright in the fridge for a few months. After you make and split the pie dough in half, you can freeze the wrapped dough for months. Assemble after that (thawing the filling and doughh in the fridge) and bake as usual. Freezing a baked pie: If you know you will be freezing this apple pie, you will need to prep the ingredients before you bake! You will add ½ teaspoon of cornstarch to the flour mixture you toss the apples in. This coats them further. Once baked and cooled, you will want to put the pie pan on a baking sheet. Put the sheet in the freezer until the pie is firm. Once frozen (at least two hours) take the pie out and wrap it tightly in plastic wrap, as well as a layer of aluminum foil. Frozen pies should be eaten within four months! (If you can make it that long!) Reheating apple pie: The best way to do this without getting a soggy crust is to warm your slice in the oven! That’s right - at 200 degrees F, for just 15 to 25 minutes (depending on your preference) is all you need to get warm apple pie!
You might also like
If you tried my delightfully easy Apple Pie recipe, please be sure to star-rate it and review it below! For more A+ recipe ideas delivered straight to your inbox, sign up for my email newsletter. You can also follow me and my recipes on social platforms like Pinterest, Instagram or Facebook or YouTube.
📖 Recipe
