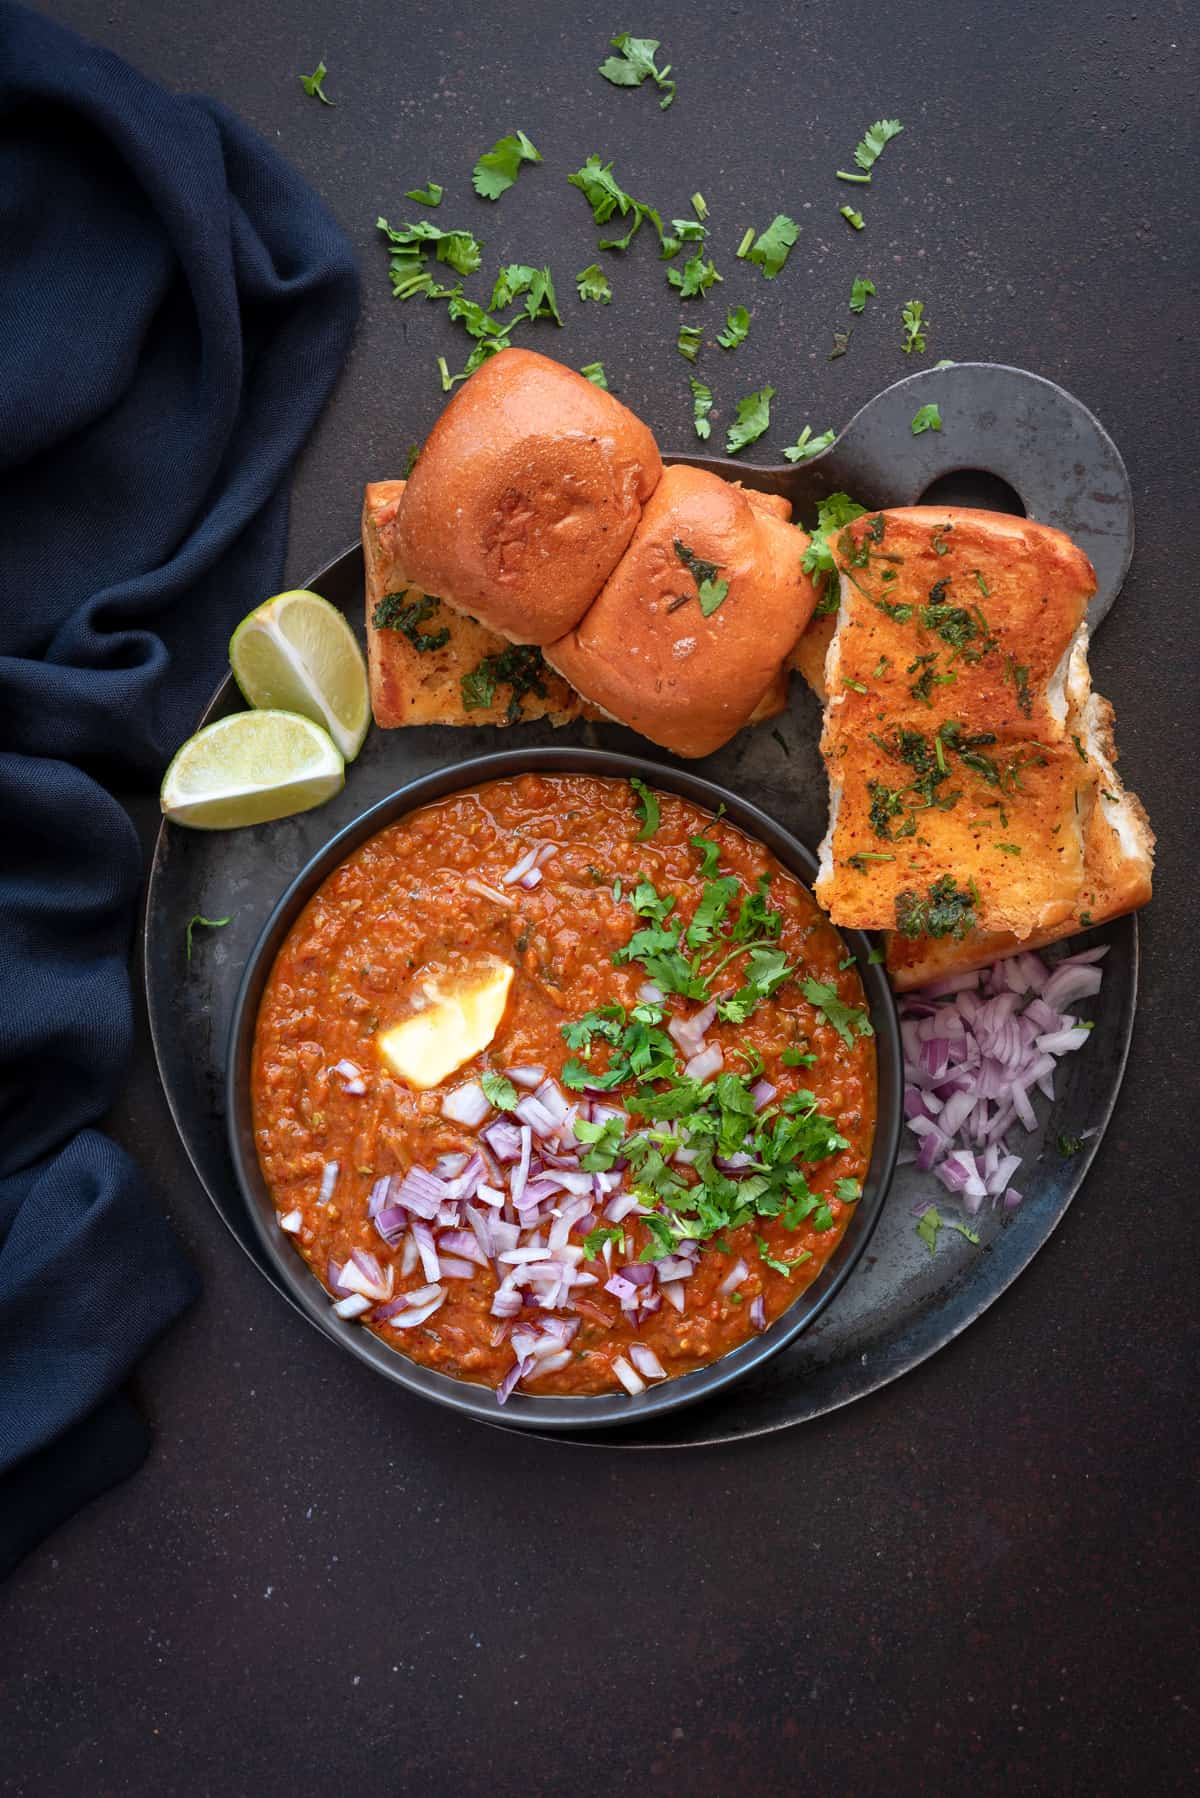
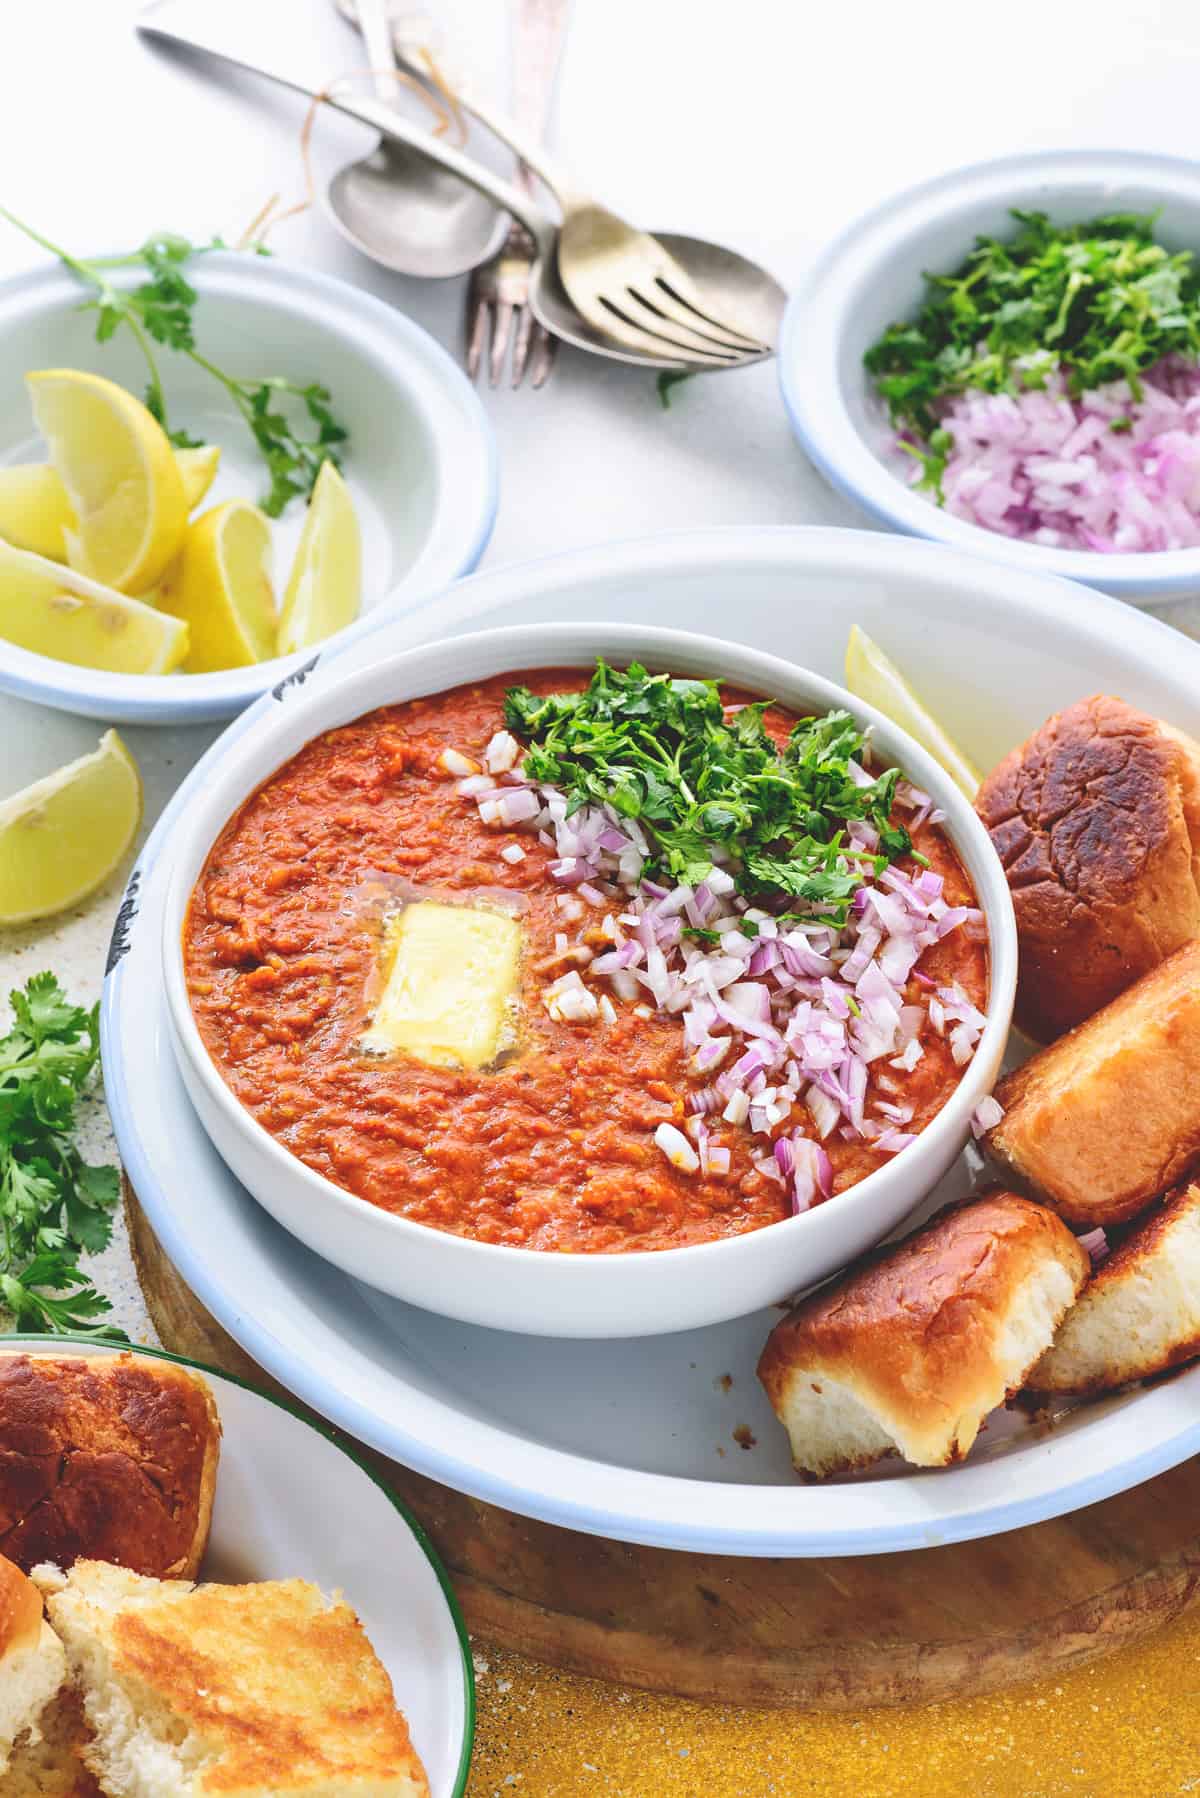
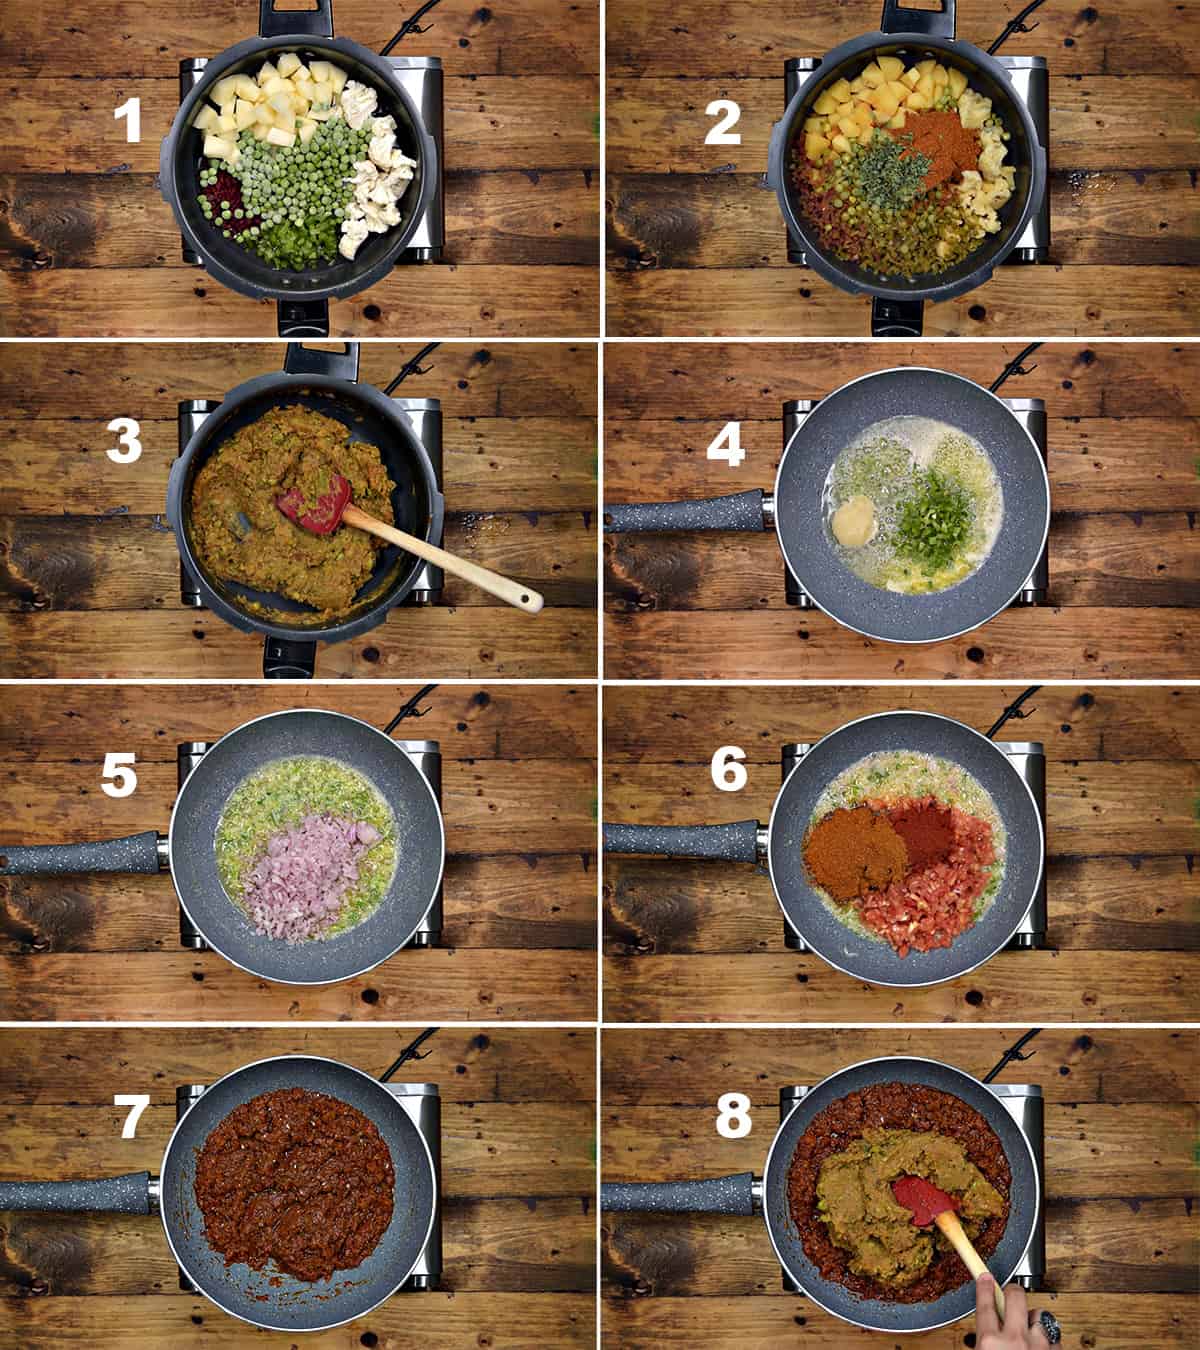
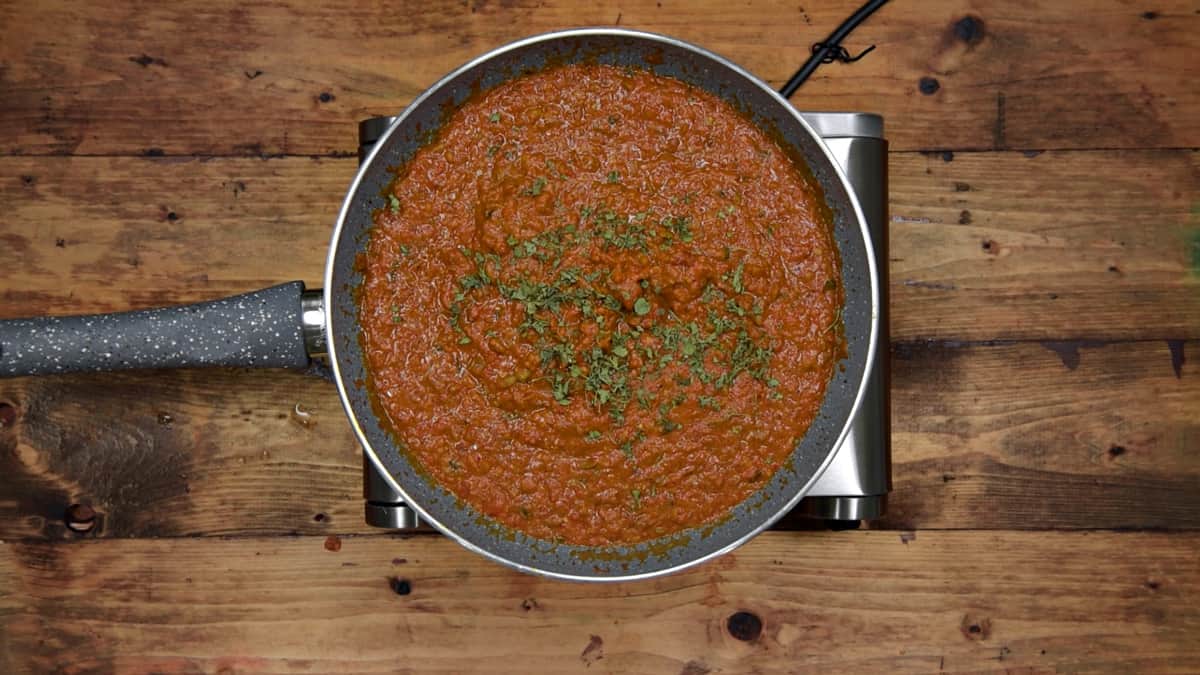
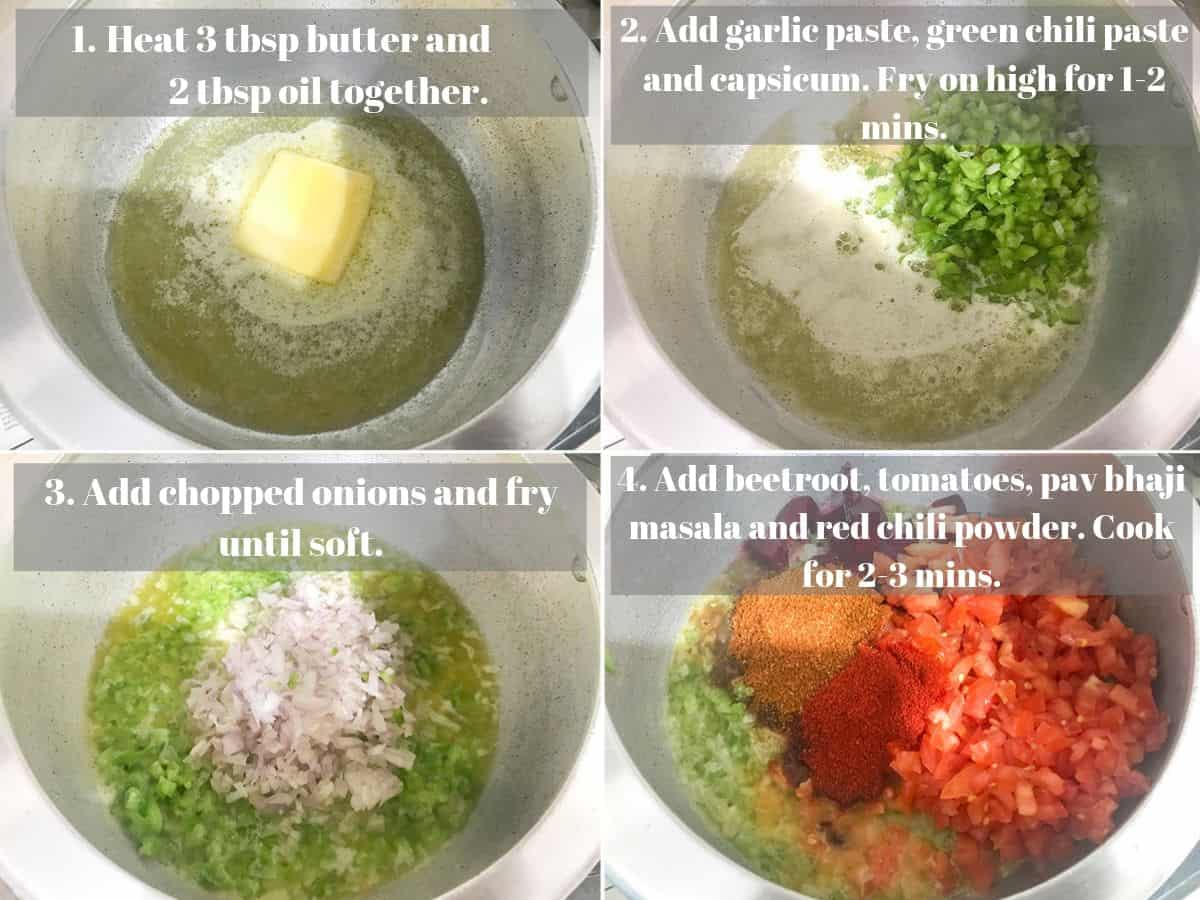
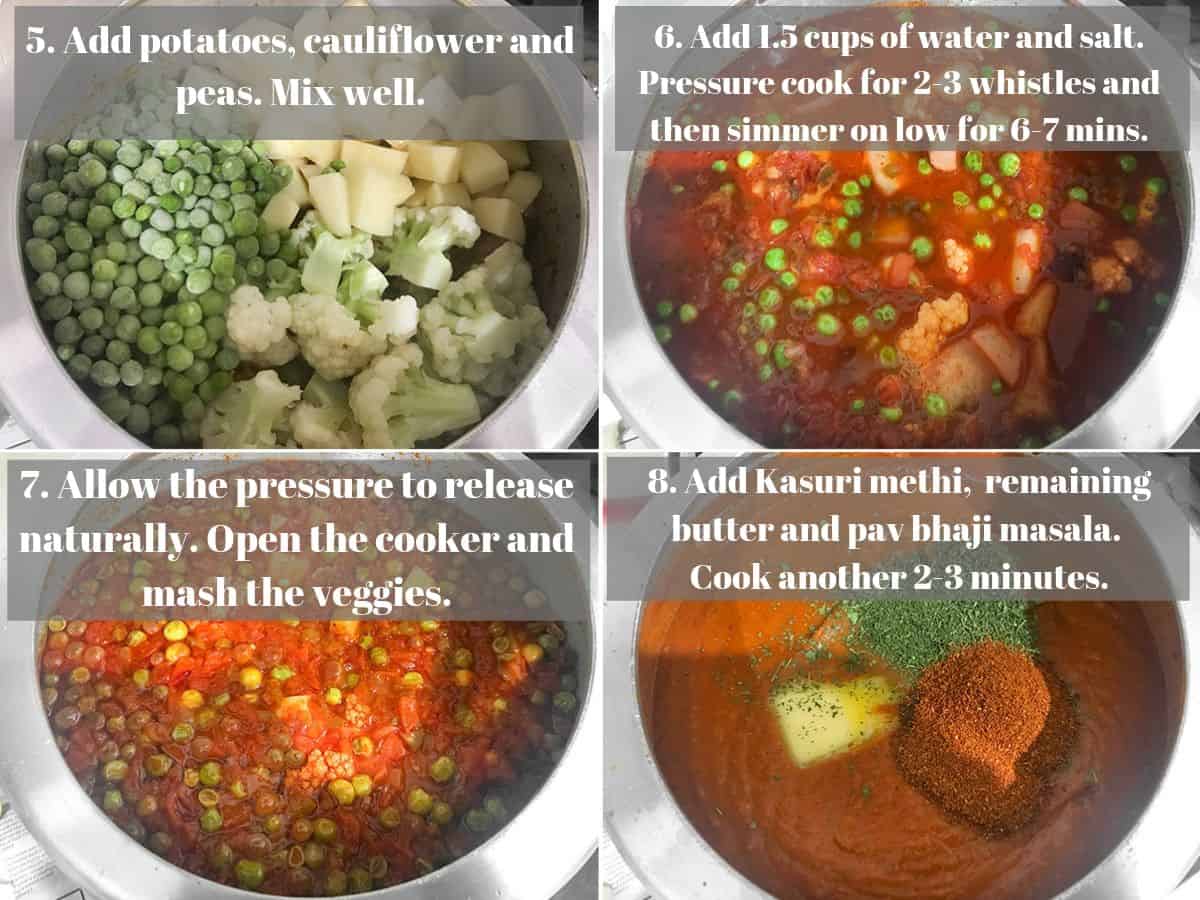
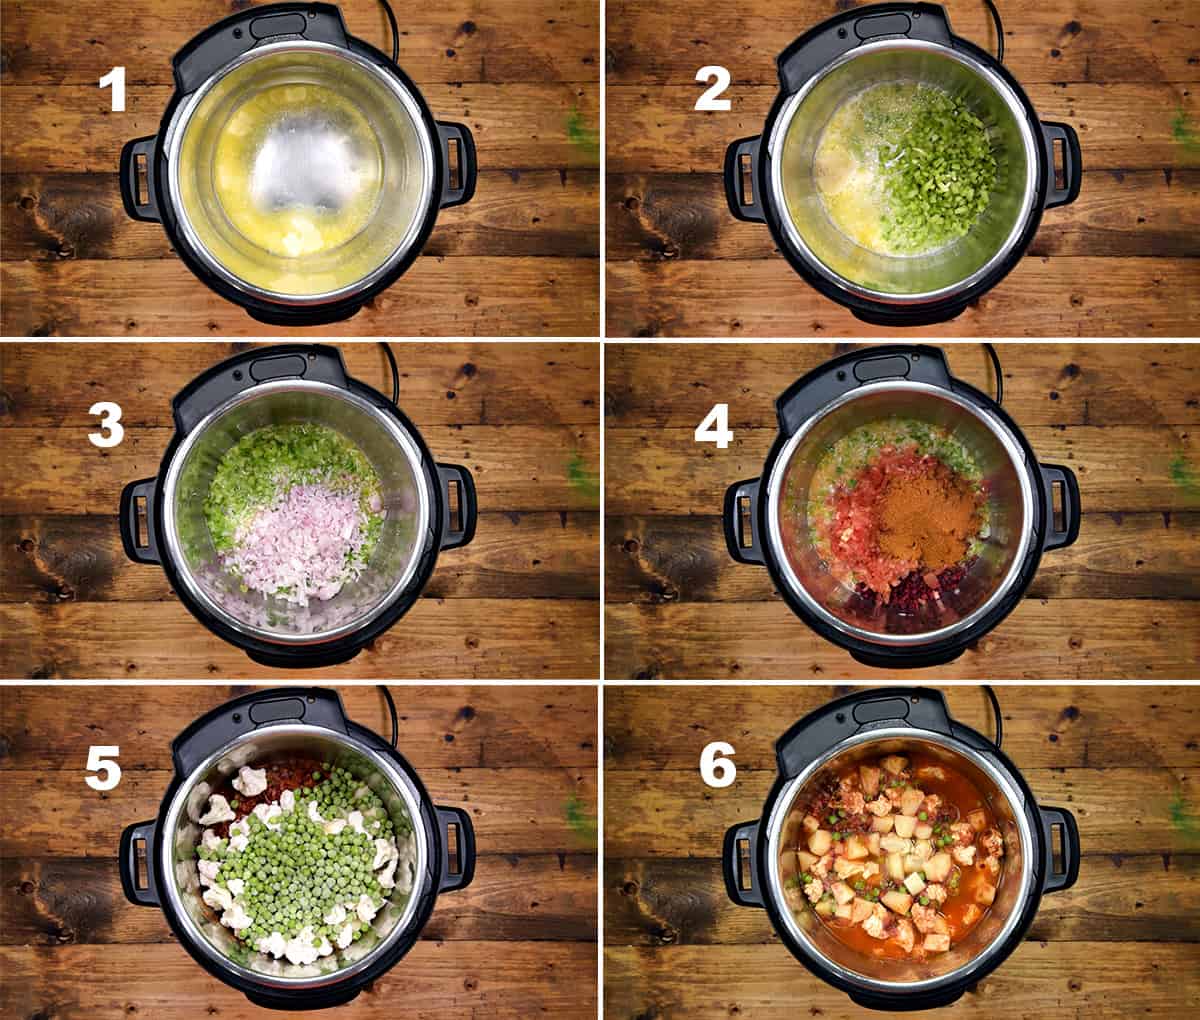
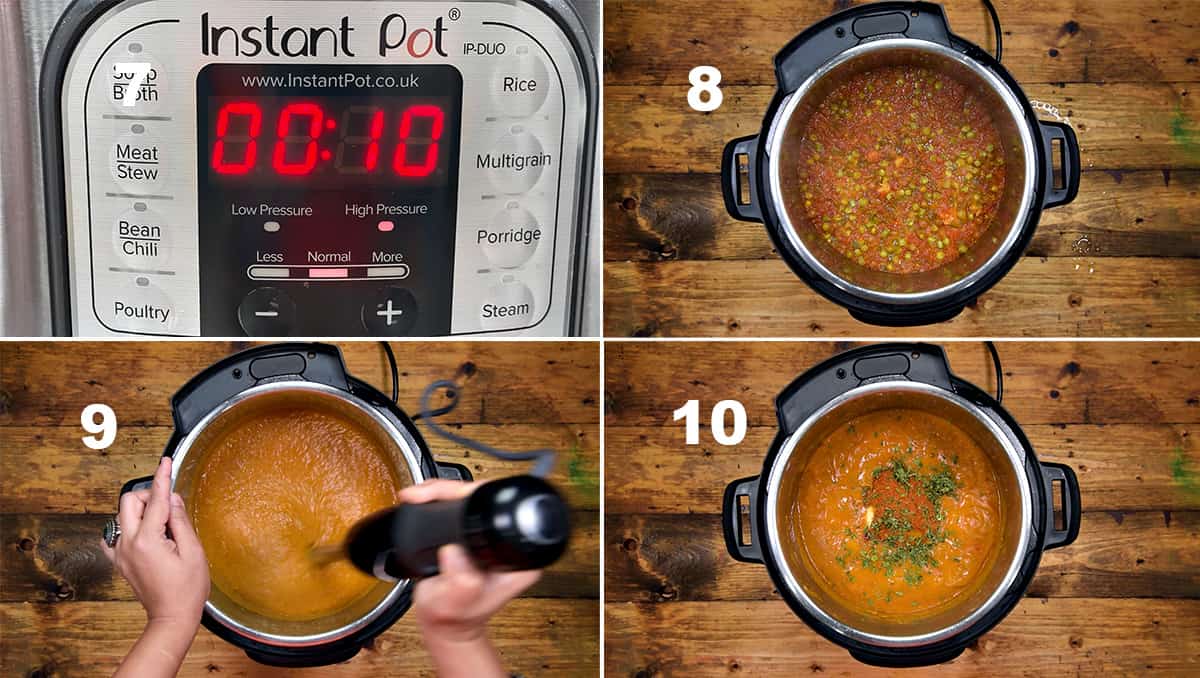
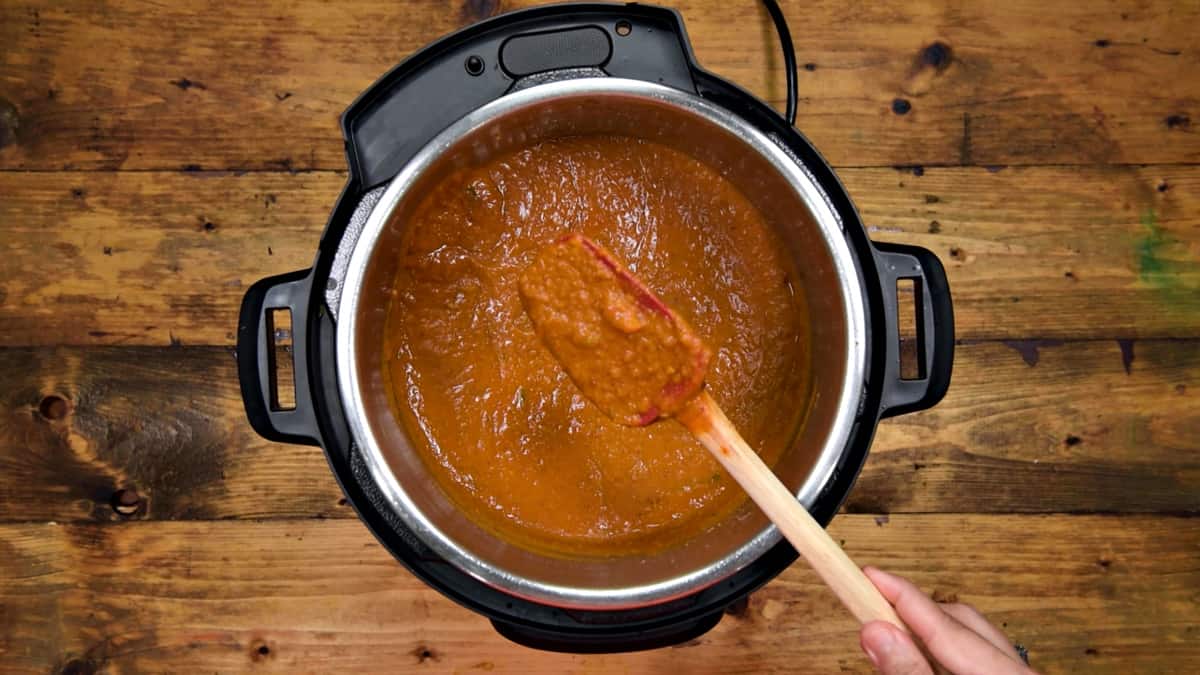
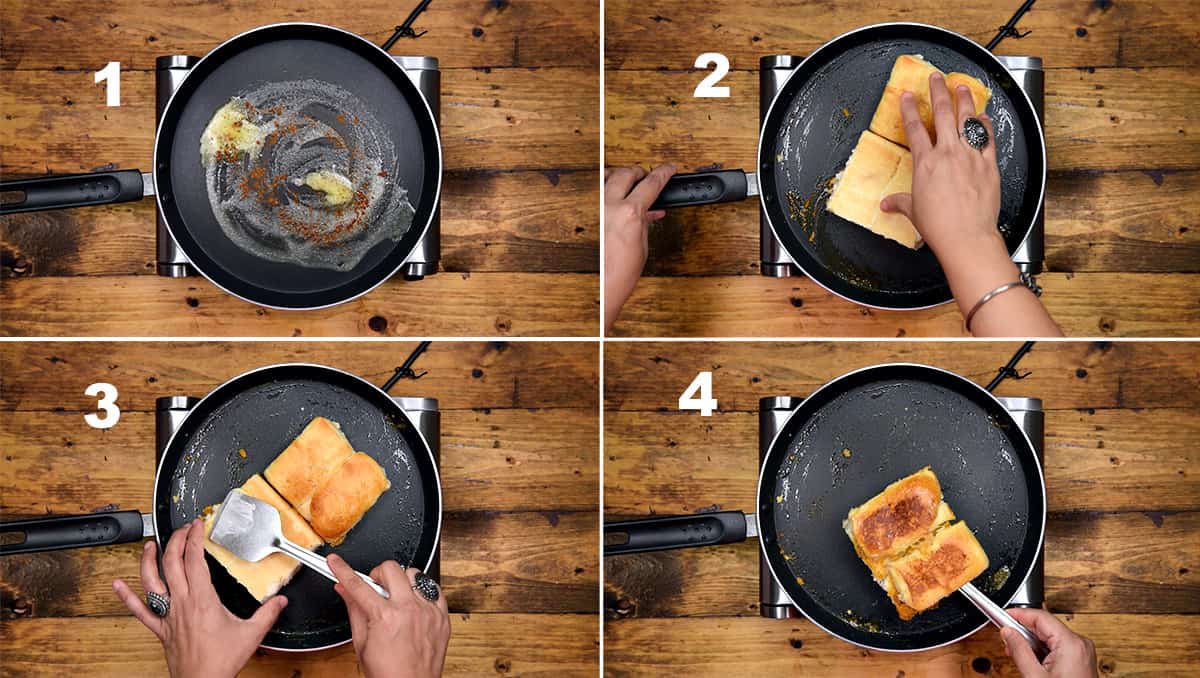
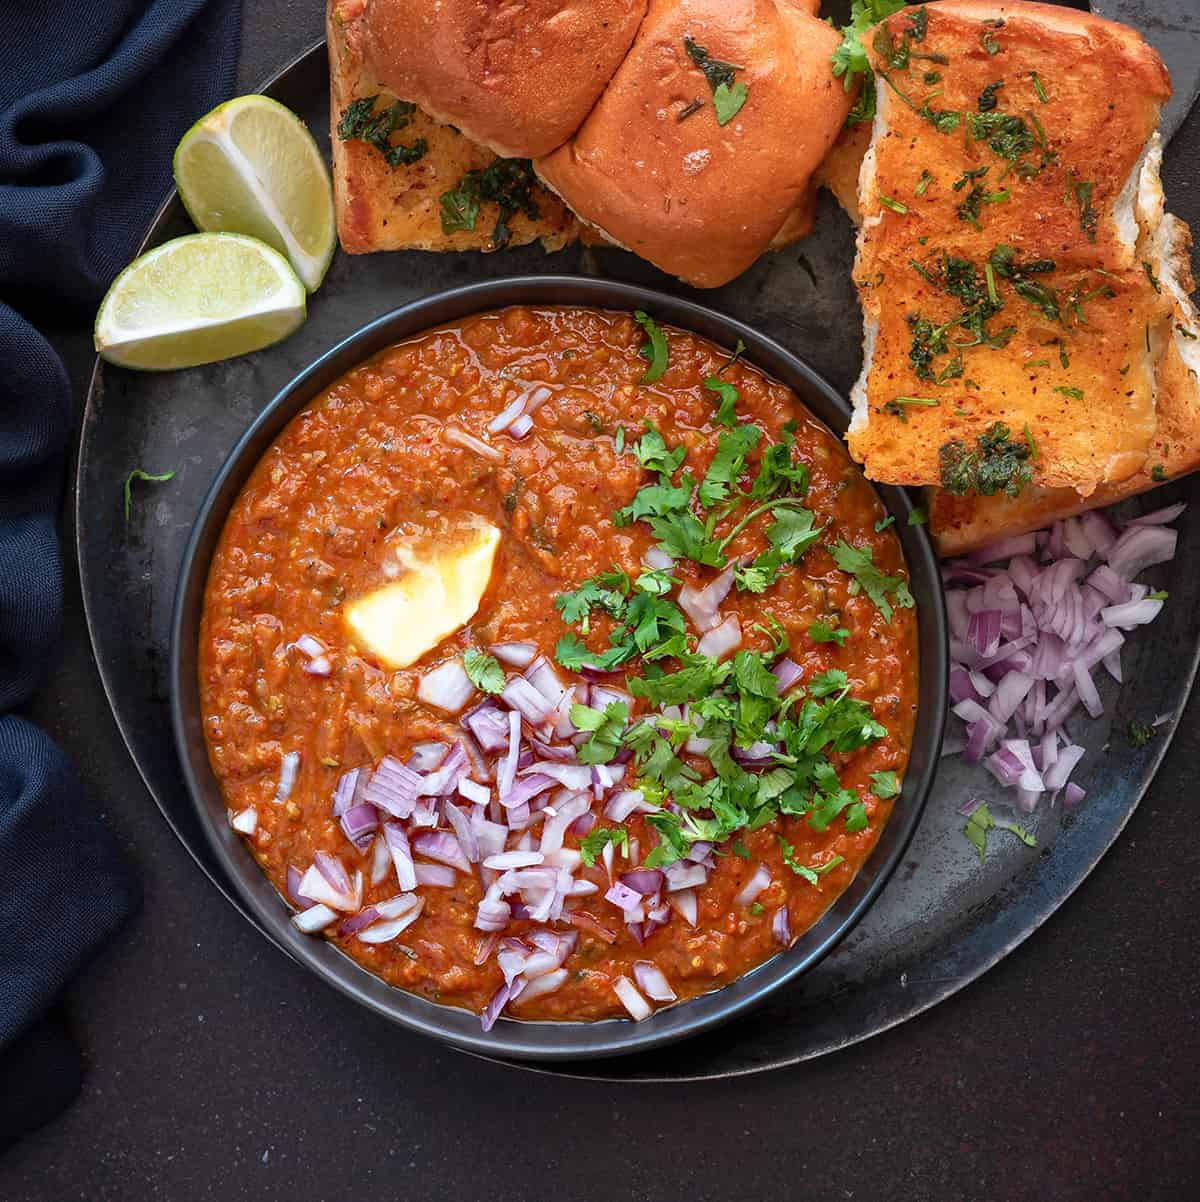
Delightful yummy dish which will Never Ever Fail to please you, you bet! Here’s how to make the best pav bhaji recipe at home on stove top in pan and in Instant Pot as well as in pressure cooker in just 30 minutes. In short, Pav or Pau refers to soft buns or dinner rolls. And, Bhaji is a special mixed vegetable gravy. It is a famous Maharashtrian street food that is popular not only in every part of our country but world wide. Known as king of fast food, it is a unique and super delicious dish of variety of vegetables. Particularly, cooked in lots of butter with special spicy Pav bhaji masala. Quintessentially, it is served with special soft bread called pav. Although, it is popular all over the country and even overseas. But, we get the authentic Pau Bhaji only in Mumbai (Bombay). 🙂 If you visit the streets of Mumbai, you will notice that bhaji is especially made or assembled on a big iron tawa or flat griddle. The colour in gravy which you see here is purely from Kashmiri red chilli powder. I do not add food color here. However, the street side stalls do use red food colour to deepen the colour of the bhaji. Then, gradually it gained popularity and served on street joints and carts. Further, it was served in restaurants and big hotels across the city and then the country. I am sharing this fool proof recipe that tastes exactly like the ones from Juhu Beach or Girgaum Chowpatty. Along with this homemade Pav bhaji, here are some more street food like Ragda Pattice, Dahi Vada, Pani Puri Samosa Chaat, Samosa and Ragda that tops the list in our favorites. Significantly, a particular combination of vegetables goes in the recipe of Mumbai pav bhaji. They are potatoes, cauliflower, capsicum and green peas. You may also add some chopped beetroots for the purpose to give deep red colour to the dish. I do consider adding it to the recipe. However, you can skip if do not like it. They can be carrots, cabbage, bell peppers of any color, french beans, egg plant (Brinjal/Baigan). However, it won’t be the Bombay street style bhaji then, but just a normal mixed vegetable gravy. Jain recipe do not use potatoes, onions, garlic or any root vegetables or tuber. So, the rest of the ingredients are same. As it is always important to use best one if you are buying from the stores. I would suggest you to use Everest brand of pav bhaji masala powder. In your part of the world, you will find it easily in the Indian stores. Ingredients : Add all the whole spices in a pan, and roast them slightly. Take it off the heat and cool completely. Transfer the roasted spices along with the powders, salt in a blender jar or coffee grinder. Grind to a fine powder. Transfer the powder to a clean jar and store it in cool dark place. You can also put it in freezer, it will stay well upto a year. Go on ahead with good amount of butter to get the best of the taste, the real street side flavours. You can do the chopping of vegetables a day ahead and refrigerate it. This will save your time especially for school lunch box prep. You can easily cook the bhaji in pressure cooker or instant pot next morning in straight 30 minutes. Adjust the amount of chillies as per your liking. So, the butter can be of your choice for which brand and fat content to pick. Either a Low fat or Full Fat! Please do not replace the pav bhaji masala with Garam Masala or any other masala powders. You will see many people add ginger and garlic paste to the recipe. But, I prefer to add only garlic paste. Most of the street stalls in Mumbai mostly use garlic in the dish. Use fresh ingredients and firm ripe red tomatoes. Also, use very good quality of Kashmiri red chilli powder. You can also use tomato puree or canned tomatoes. Generously, use chopped onions, blob of butter, lemon juice and coriander leaves to garnish the bhaji while serving. Toast the pav or buns nicely in butter and then serve. Sprinkle chopped onions, coriander leaves on the top. Squeeze lemon generously on the bhaaji gravy. Enjoy it with buttered pav. Serve a bit of extra chopped onions, coriander leaves and lemon wedges on the side. Further, you can also serve bhaji with butter toasted breads or burger buns. Transfer the bhaji in a clean airtight box and keep it in the fridge. It stays well upto 3 days. All you need to do is re-heat and dress it with some more butter just before serving. Follow the same if you have the leftovers. Whenever you want to serve it, just thaw it on a counter for few hours. Then, reheat it with some butter, kasuri methi and bhaji masala powder or red chilli powder. You are good to go. To make vegan version, use vegan butter of your choice instead of dairy butter. Or when you have to make something really nice and quick in minutes, especially on sudden arrival of guests. It is just the matter of 30 minutes! And you have a perfect one pot recipe without compromising on it’s taste. Then, boil the veggies until soft and can be mashed. Add 2-3 tablespoons of butter, 2 tablespoons of paav bhaji masala and 1 teaspoon Kasuri Methi. Mix and mash well. Set it aside. Photo 2 and 3. Then, in a pan or a kadhai, heat 3 tablespoons of butter and 2 tablespoons of oil together. Once the oil and butter heats up, then add 1 tablespoon of garlic paste and 1 teaspoon green chilies (finely chopped or paste) and ¼ cup finely chopped capsicum. Photo 4. Now, add chopped tomatoes, 1 tablespoon Kashmiri red chili powder and remaining 3 tablespoons of bhaji masala and mix everything well. Photo 6. Add salt and cook until tomatoes softens well and it starts releasing oil. Photo 7. Then, add cooked mashed vegetables and mix. Mash using masher to get required consistency. Add little water and cook for 3-4 minutes. Check for salt. Photo 8. You can use potato masher or immersion blender to mash the veggies. You can also add water if you do not like thick consistency of the gravy, check for seasonings. Cook for 2-3 minute and you are done. Garnish and serve with toasted pav. To begin with, Switch on the IP, place the inner pot and press sauté button. Heat 3 tablespoons of butter and 2 tablespoons of oil together. Photo 1. Then add garlic paste, green chilies paste and chopped capsicum and sauté for 30 seconds. Photo 2. Now, add chopped onions and sauté for 1 minute or until soft and pink. Photo 3. Then, add chopped beetroot, chopped tomatoes, 2 tablespoons of pav bhaaji masala and Kashmiri red chili powder. Sauté for another minute. Photo 4. Note: If anything is stuck at the bottom then, add 1 tbsp of water and deglaze it. Deglazing will also help in avoiding the masalas to get burn. Add potatoes, cauliflower and green peas, mix. Photo 5. Add 1.5 cup of water and salt, stir once. Photo 6. Close the pot with valve in sealing position, cancel sauté button and press manual/pressure cook button. Pressure cook the veggies for 10 minutes on high pressure. Photo 7. Once the IP beeps, allow the pressure to release naturally until the silver pin drops. Carefully open the lid, and with the help of masher or immersion blender, smash the vegetables coarsely. Photo 8 and 9. Switch on the sauté mode again, add kasuri methi, remaining butter and the bhaji masala, and check for the salt. Give it a quick mix ans simmer for 2-3 minutes. Note : If you feel bhaji is too thick, then add little water and simmer. So, guys, do try it yourself at home. And I am pretty sure there shall be no looking back. Sprinkle some pav bhaji masala (optional step) but preferable. Then, toast the pav or buns from both the sides. Dish out the bhaji , garnish with blob of butter chopped coriander leaves, serve with buttered pav or buns chopped onions and lemon wedges on side. Isn’t it so easy to make the best one pot pav bhaji recipe at home now? Honestly, I prefer to make it in Instant Pot or Pressure cooker only. The one pot method take so much of less time and effort. Plus, no compromise on taste at all.
Variations
Nowadays, adding cheese is also in trend. So, for cheesy twist, just add the grated cheese over the hot bhaji just before serving. Add grated paneer to the veggies while cooking as well as while serving. You can use Paneer cubes also. Though, the onions are one main ingredient that goes in the recipe, but sattvik recipe omits the onion and garlic both for no onion no garlic version. No root or tuber vegetables, onion, garlic are added into Jain paav bhaaji. You may find at some places they do add raw banana instead.
💓 We Love to hear back from you and appreciate your success stories !Have you tried this Pav Bhaji Recipe? Please feed us with your ★ star ratings and comments below. You can also FOLLOW me on FACEBOOK, INSTAGRAM and PINTEREST for more fabulous recipes and updates
📖 Recipe
